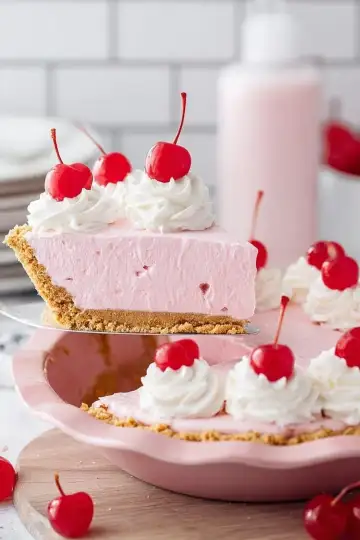


Nothing beats a dessert that’s quick, colorful, and deliciously nostalgic. This Cherry Kool-Aid Pie Recipe hits all those marks with its creamy, tangy filling and a crust that’s just right. It’s a no-bake dream you’ll want to make over and over.
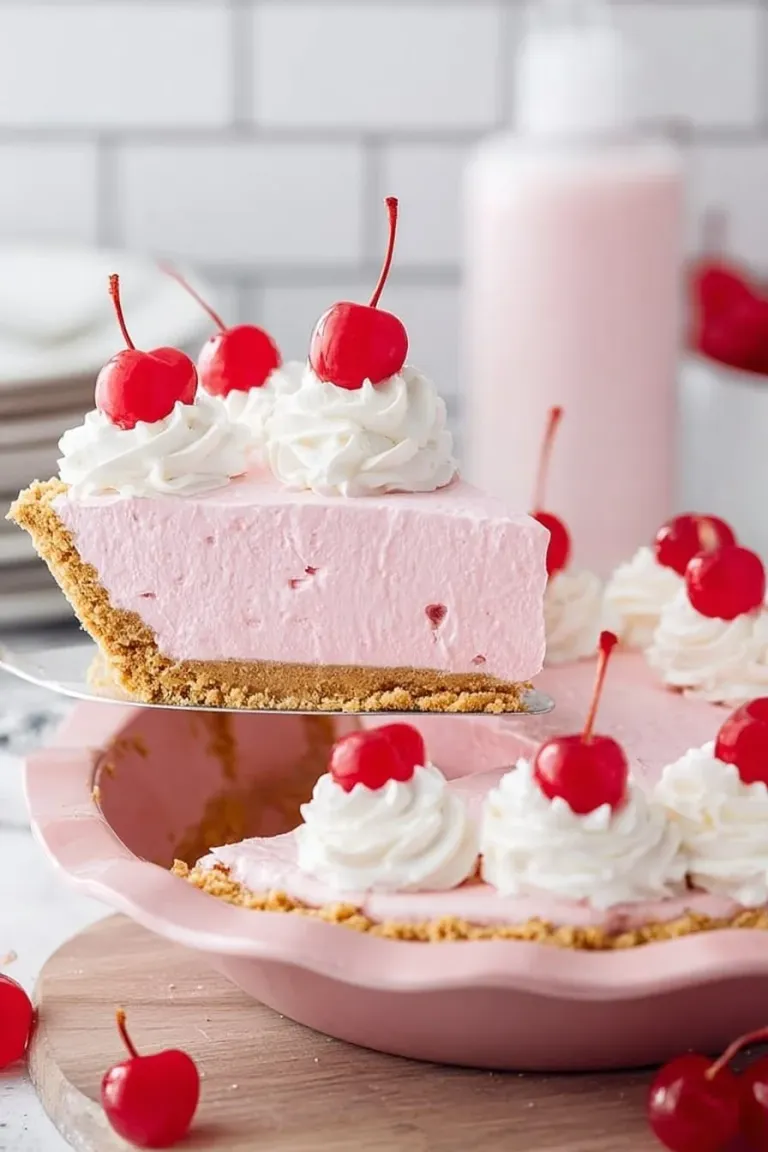
Why You’ll Love This Recipe
- Super Quick & Easy: This no-bake pie is ready with just a few simple steps—perfect for busy days or last-minute cravings.
- Bright Cherry Flavor: The unsweetened cherry Kool-Aid adds a vibrant color and tangy twist you won’t get with ordinary pies.
- Creamy, Dreamy Texture: The blend of cream cheese, condensed milk, and Cool Whip makes it silky smooth and refreshingly light.
- Kid-Approved Nostalgia: I discovered this recipe as a kid, and my family still goes crazy for it during summer BBQs and holidays.
Ingredients You’ll Need
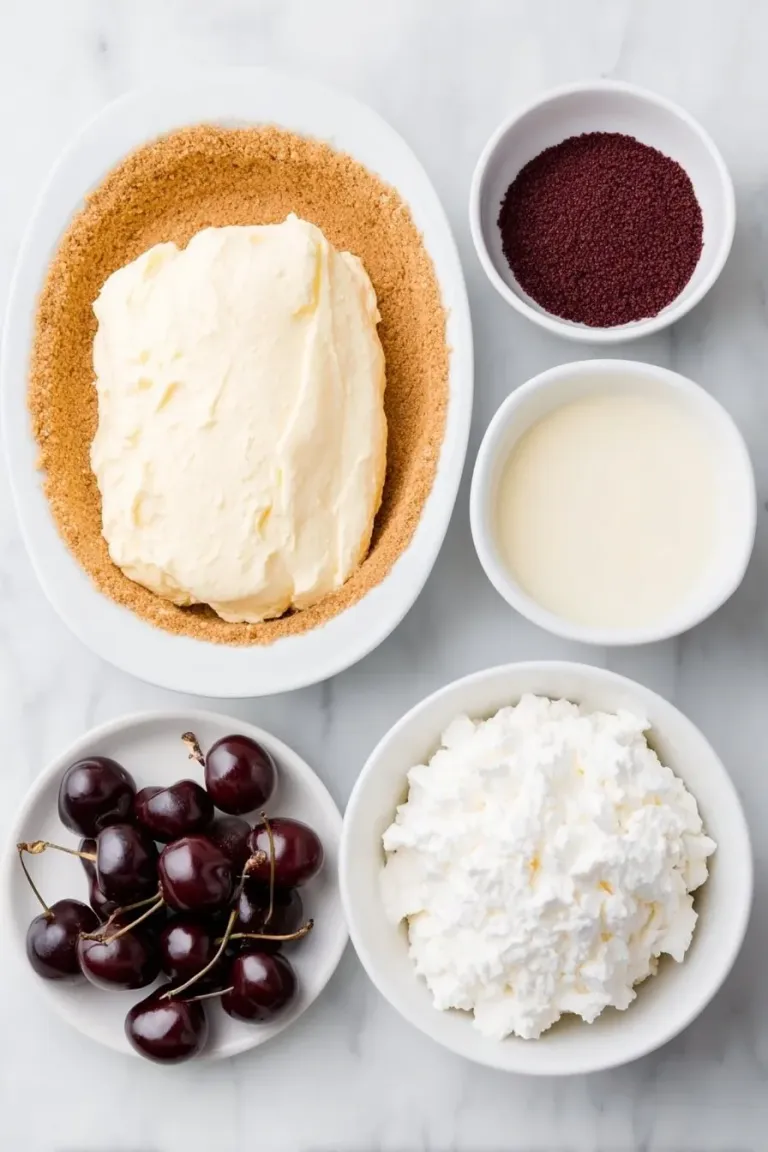
The magic of this pie lies in simple pantry staples mixing with that punchy cherry Kool-Aid flavor. You’ll notice how each ingredient plays its part perfectly to make a smooth, perfectly tangy filling that wows every time.
 Save
- Pre-made graham cracker crust: The buttery, crunchy base saves you time and gives just the right texture contrast.
- Cream cheese: Be sure it’s softened at room temp to blend effortlessly for that velvety base.
- Sweetened condensed milk: Adds luscious sweetness and helps set the filling without baking.
- Unsweetened black cherry Kool-Aid mix: This is the flavor superstar—unsweetened means you control the sweetness and get that true cherry zing.
- Cool Whip (thawed): Lightweight and fluffy, it gives the pie a delightful softness and lifts the filling.
- Maraschino cherries with stems: For topping—it adds a classic touch and bursts of cherry flavor on each slice.
Variations
I love how flexible this Cherry Kool-Aid Pie Recipe is—once you’ve nailed the basic method, you can switch up flavors or toppings to give it your own twist. It’s a fun way to keep this nostalgic treat feeling fresh.
- Flavor Swap: I’ve tried grape and orange Kool-Aid versions with great success—just match the garnish fruit for a beautiful, coordinated look.
- Dairy-Free Option: Use dairy-free cream cheese and whipped topping to make it friendly for lactose intolerance without losing creaminess.
- Add Some Crunch: Mixing some chopped nuts into the crust or sprinkling crushed cookies on top adds a nice texture contrast.
How to Make Cherry Kool-Aid Pie Recipe
 Save
Step 1: Whip the Cream Cheese Smooth
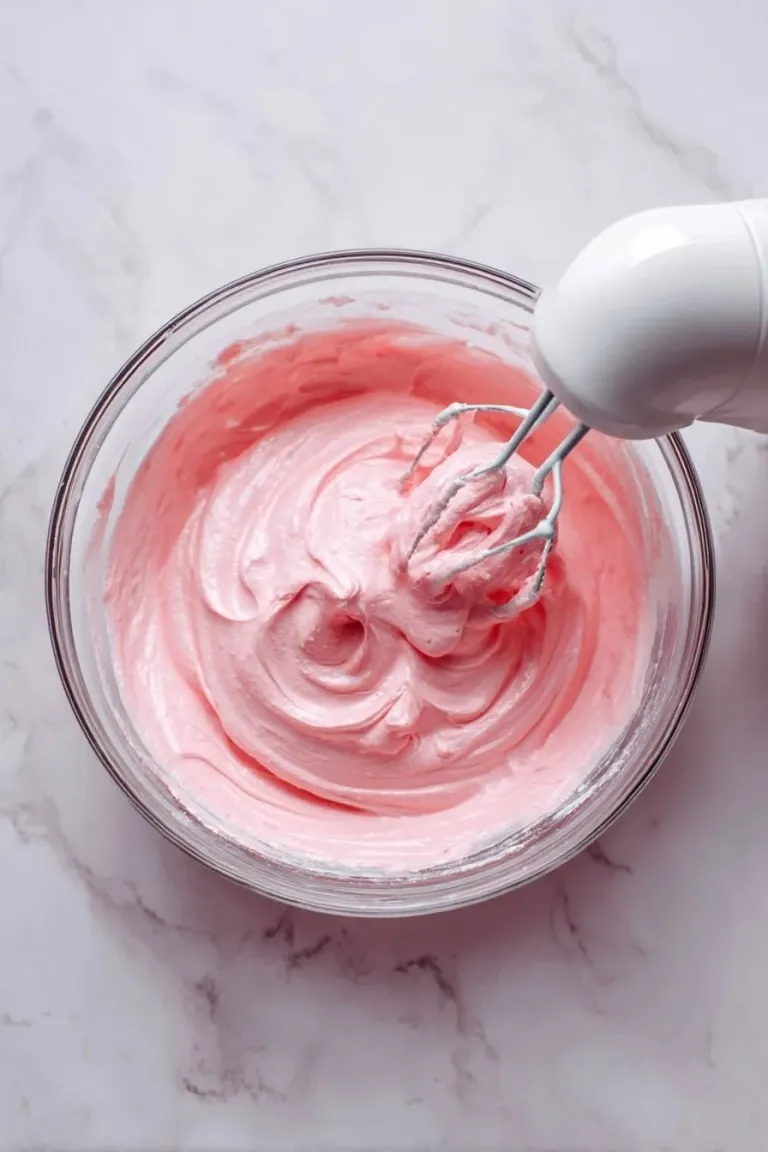
Start by beating the softened cream cheese in a medium bowl using a handheld mixer on medium-high speed. Aim for about 1 minute until it’s perfectly smooth with no lumps—that’s the secret to a creamy pie filling. Trust me, taking the time here pays off big.
Step 2: Blend in Sweetened Condensed Milk
Pour in the sweetened condensed milk and continue mixing for another minute until everything is well combined. This step sweetens and lightens the mixture naturally, so no extra sugar needed.
Step 3: Add the Cherry Kool-Aid Mix
Sprinkle in the packet of unsweetened black cherry Kool-Aid powder, then blend it just until the color is even throughout the filling. You’ll notice the gorgeous rosy hue instantly—this is the fun, signature part of the pie!
Step 4: Fold in the Cool Whip
Finally, add the thawed Cool Whip and mix on low speed until fully incorporated. The filling will become delightfully fluffy and light here—don’t overmix, or you might lose some of that airy texture.
Step 5: Chill and Garnish
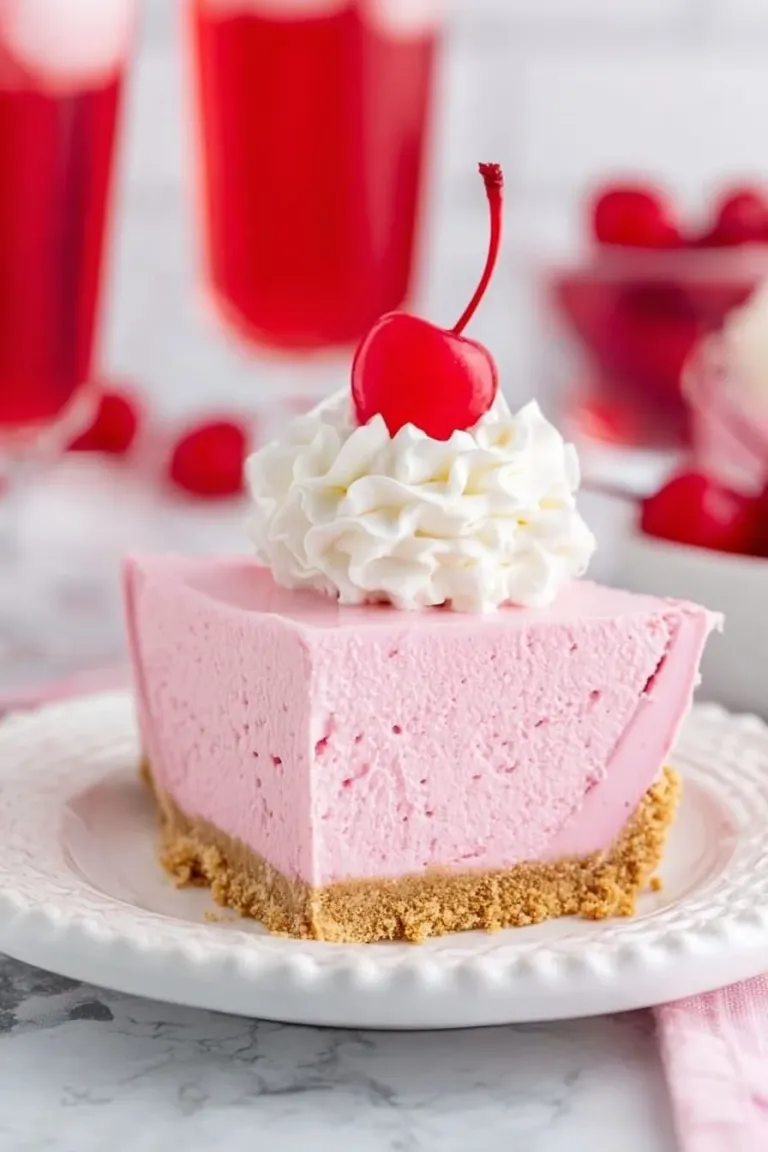
Spoon the filling evenly into the graham cracker crust and smooth the top. Cover it and refrigerate for at least 4 hours so it can set properly—this waiting is the hardest part but worth it! Before serving, pipe a swirl of extra Cool Whip on each slice and top with a maraschino cherry for that classic finishing touch.
Pro Tips for Making Cherry Kool-Aid Pie Recipe
- Softening Cream Cheese Properly: I always take the cream cheese out about 30 minutes before starting to ensure it blends perfectly smooth without lumps.
- Mix Gently with Cool Whip: Overmixing can deflate the fluffy texture, so I slow down the mixer and stop as soon as it looks uniform.
- Use the Plastic Cover for Storage: The pre-made crust’s plastic lid is perfect to cover the pie and keep it fresh without extra dishes.
- Keep It Cold: This pie needs at least 4 hours chilling—don’t rush this or the filling won’t set properly and the flavors won’t meld.
How to Serve Cherry Kool-Aid Pie Recipe
 Save
Garnishes
I stick with the classic maraschino cherries and extra Cool Whip because it adds that perfect pop of color and sweetness for each slice. Sometimes, I jazz it up with a sprinkle of mini chocolate chips or crushed nuts if I’m feeling fancy.
Side Dishes
This pie pairs wonderfully with light summertime sides like fresh fruit salad or a crisp green salad with a tangy vinaigrette to balance the sweetness. It also shines alongside barbecue or grilled chicken for an easy summer meal.
Creative Ways to Present
For holidays or parties, I’ve served this pie in individual mini graham cracker tart shells topped with a dollop of Cool Whip and a cherry—so cute and perfect for portion control! It’s a fun way to impress guests without extra fuss.
Make Ahead and Storage
Storing Leftovers
I always keep leftover pie covered with the plastic lid from the crust or plastic wrap and refrigerate it. It stays fresh for up to 4 days, making it an ideal make-ahead dessert.
Freezing
Freezing is doable but I skip the Cool Whip and maraschino cherries on top when I do. Wrapping tightly with foil plus the crust’s plastic cover works best. When ready to eat, I thaw overnight in the fridge and add fresh whipped topping and cherries before serving.
Reheating
This pie is best served cold, so reheating isn’t needed. Just let frozen slices thaw fully in the refrigerator for a few hours to regain their creamy texture and flavor.
Final Thoughts
This Cherry Kool-Aid Pie Recipe holds a special place in my heart as an easy, sweet throwback that’s always a crowd-pleaser. You’ll enjoy how few ingredients and steps it takes to create a dessert that feels both fun and effortless. Give it a try the next time you want to add a little joy to your table—I promise your friends and family will thank you!