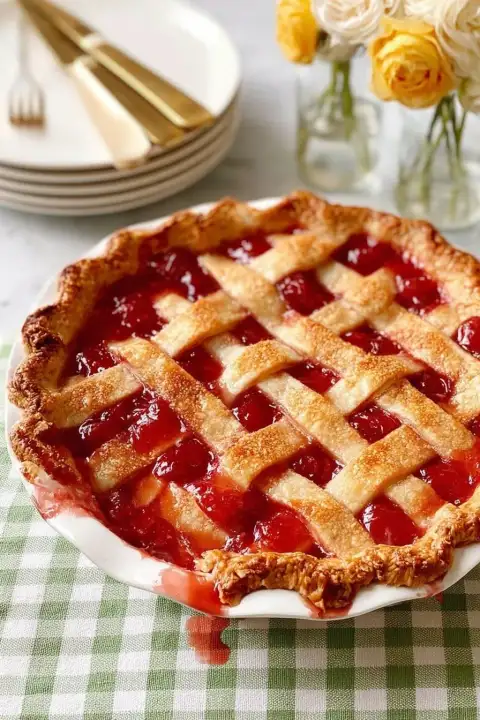


There’s something truly magical about a flaky, buttery crust hugging sweet, roasted strawberries that just melts in your mouth. That’s exactly why I’m excited to share this Strawberry Hand Pies with Roasted Filling Recipe with you — they’re perfect little pockets of summer, even when it’s chilly outside. Trust me, once you try these, you’ll want to make them again and again.

Why You’ll Love This Recipe
- Deliciously Roasted Filling: Roasting the strawberries concentrates their sweetness and adds a rich depth of flavor that’s not in your ordinary hand pies.
- Flaky, Buttery Crust: The pie dough is super flaky and tender, making every bite a perfect crisp contrast to the juicy filling.
- Portable & Fun: These hand pies are perfectly sized for snacking on the go – great for picnics, lunchboxes, or just a cozy treat at home.
- Make Ahead Friendly: You can prepare the dough and filling ahead, which means less stress when you’re ready to bake fresh pies for guests or family.
Ingredients You’ll Need
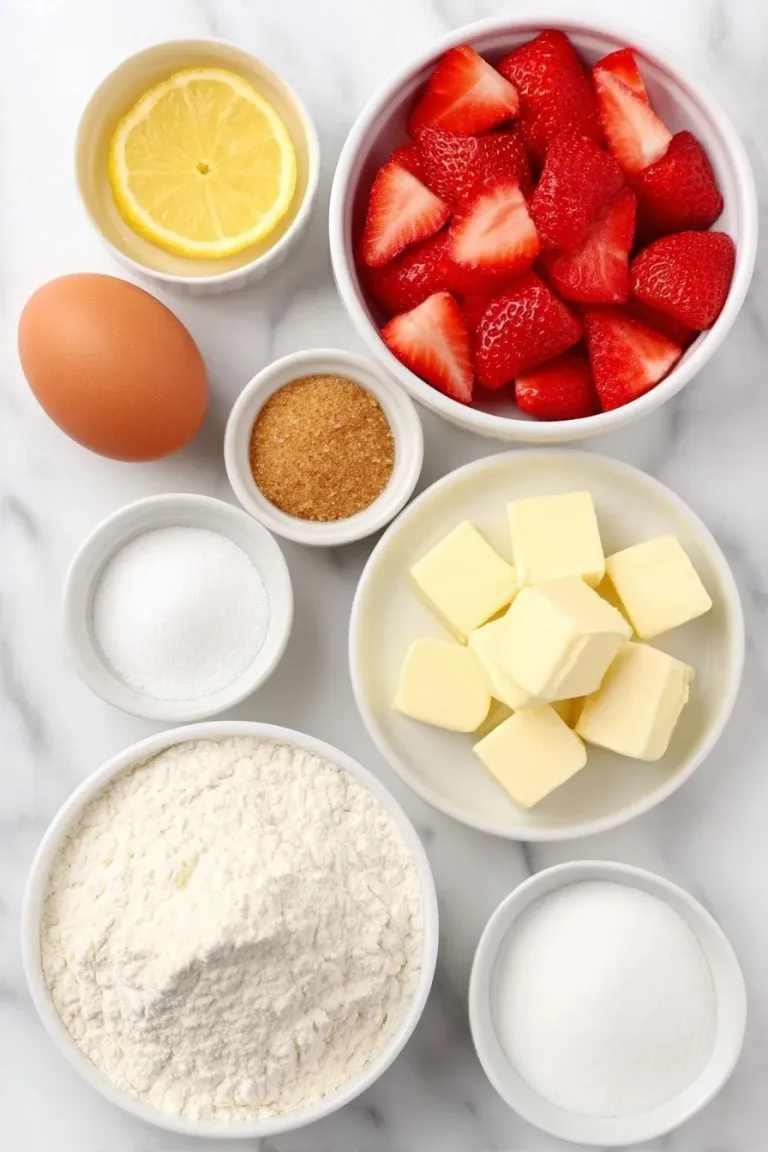
All these ingredients come together so well because fresh strawberries shine when roasted, and the flaky homemade dough perfectly balances the sweet, tangy filling. When shopping, look for ripe strawberries and cold, unsalted butter for the best crust.
 Save
- Unbleached All-Purpose Flour: Gives structure to the flaky dough — unbleached is my preference for that natural, buttery flavor.
- Kosher Salt: Enhances the flavor of the crust and balances the sweetness of the filling.
- Granulated Sugar: Sweetens both the dough and strawberries — raw turbinado sugar adds a nice crunch on top.
- Unsalted Butter (Cold): The star of any good pie crust — cold butter creates those unbeatable flaky layers.
- Ice-Cold Water: Helps bring the dough together without melting the butter, keeping it flaky.
- Fresh Strawberries: Choose ripe, fragrant berries for the filling to get that deep jammy flavor when roasted.
- Vanilla Bean (Optional): Adds a fragrant depth — a small touch makes a big difference in the filling.
- Lemon Zest and Juice: Brightens up the filling giving it that fresh balance to the sweetness.
- Egg and Milk (or Cream): For the egg wash that seals and gives a golden finish to the pies.
Variations
I love making these pies just as written, but I’ve definitely played around a bit to suit seasons or dietary tweaks. Feel free to personalize — that’s part of the fun with hand pies!
- Gluten-Free Option: I’ve swapped the flour for a high-quality gluten-free blend and it works surprisingly well, though the dough might be a bit more delicate to roll out.
- Berry Mix: Sometimes I mix strawberries with blueberries or raspberries for a more complex berry filling — roasting brings out their natural sweetness beautifully.
- Herbal Twist: Try adding a pinch of fresh thyme or basil to the filling — it gives a slightly savory hint that pairs wonderfully with the fruit.
- Vegan Adaptation: Use a plant-based butter and substitute the egg wash with almond milk or aquafaba to get a similar golden crust.
How to Make Strawberry Hand Pies with Roasted Filling Recipe
 Save
Step 1: Crafting the Perfect Flaky Pie Dough
Start by mixing your flour and salt in a big bowl — whisking helps them evenly distribute. Then, chop your cold butter into small cubes and mush it gently into the flour with your fingers. It’s tempting to rush, but take your time here: you want little butter pieces flattened about quarter-sized to create those flaky pockets when baked.
Next, add ice-cold water gradually, folding it in with a wooden spoon until the dough just comes together in a shaggy ball. The key I discovered is not to over-hydrate — add water slowly, stop as soon as it looks like a loose dough.
Press the dough into a rough rectangle on a floured surface, then do a few “letter folds” — rolling out and folding — to build layers. This step is what makes the crust tender and flaky when baked. After folding, wrap the dough in plastic and chill for at least 45 minutes. If you have patience, chilling it overnight makes rolling much easier too.
Step 2: Roasting Strawberries for Deep, Jammy Flavor
Preheat your oven to 425°F — getting it fully hot will ensure even roasting. Meanwhile, prep your sugar infused with vanilla seeds if you’re using the bean. Scraping those tiny seeds into the sugar may sound fiddly, but this step fills the kitchen with the most amazing aroma and really lifts the strawberry flavor.
Mix your sliced strawberries with lemon juice, zest, half of the vanilla sugar, and a pinch of salt, then spread them out on a baking pan. Roast for about 15 minutes, then taste the mixture carefully – it should start to soften and release juices. Add more sugar little by little, stirring every 10 minutes, until the syrup thickens and bubbles on the edges.
Let the berries cool to room temperature before you scoop them into your dough — hot filling can make the crust soggy, which you definitely want to avoid.
Step 3: Rolling and Assembling Your Hand Pies
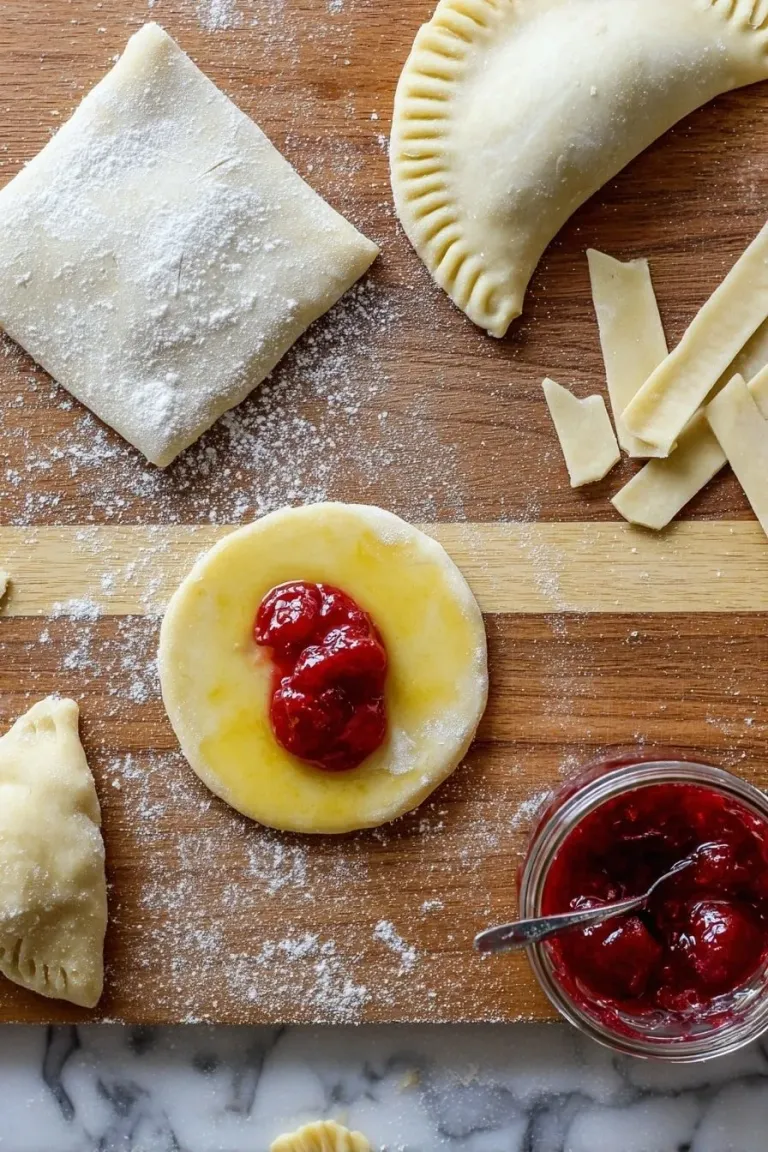
Take half your chilled dough out and let it rest for about 15 minutes if it’s been super cold — this helps with rolling. Roll it out to about 1/2 inch thick, then use a 4-inch round cutter to make your pie bases. Don’t toss those scraps! I gather them into a ball, chill briefly, and roll again to get extra pies.
Now, spoon a tablespoon of the cooled roasted strawberry filling into the center of each dough circle. Brush the edges with your egg wash to help seal the pies, then fold over and gently crimp the edges with a fork. Pop the assembled pies back in the fridge for at least 30 minutes to firm up — this step really helps them keep their shape while baking.
Step 4: Baking to Golden Perfection
Heat your oven to 375°F and line a baking tray with parchment. Brush your pies with egg wash one last time, then cut a few tiny slits on top to let steam escape — it’s a small detail but it prevents filling from leaking out.
Sprinkle generously with turbinado sugar for a sparkling, sweet crunch. Bake for about 20 minutes or until edges are lightly golden and the pies have puffed up a bit. Let them cool on a wire rack—it’s hard to wait, but this helps maintain that perfect texture inside and out.
Pro Tips for Making Strawberry Hand Pies with Roasted Filling Recipe
- Keep Ingredients Cold: I learned the hard way that warm butter ruins flakiness, so always chill ingredients and dough well before rolling.
- Don’t Overfill: Too much filling can cause the pies to burst in the oven — a tablespoon is just right to avoid messes.
- Use a Bench Scraper: It makes folding dough and managing scraps way easier; this little tool is a game-changer for pie dough work.
- Rest Before Baking: Chilling assembled pies helps them hold shape and prevents the butter from melting too fast, resulting in prettier, flakier pies.
How to Serve Strawberry Hand Pies with Roasted Filling Recipe
 Save
Garnishes
My go-to garnish is a quick dusting of powdered sugar once the pies cool — it adds a pretty touch and a hint more sweetness. For something fancy, a few fresh mint leaves or a drizzle of melted white chocolate can elevate them for guests.
Side Dishes
I like to serve these with a simple scoop of vanilla ice cream or a dollop of freshly whipped cream. They also pair nicely with a crisp green salad for a light summer lunch or a cup of hot tea for a cozy snack.
Creative Ways to Present
For special occasions, I’ve wrapped the pies individually in parchment paper tied with twine — it’s charming for picnics or gifting. Or arrange them on a wooden board with fresh berries and edible flowers; it’s so pretty and inviting.
Make Ahead and Storage
Storing Leftovers
After baking, store your hand pies at room temperature in an airtight container for up to two days, or refrigerate them for up to a week. I usually let the pies come to room temperature before serving again to keep that flaky crust texture.
Freezing
One of my favorite hacks: freeze the unbaked pies after assembly on a baking sheet for 24 hours, then bag them tightly. When you want fresh hand pies, bake from frozen — just brush with egg wash and sprinkle sugar before sliding them into a hot oven. It’s perfect for busy days.
Reheating
To warm leftovers, I pop them in a 300°F oven for about 10 minutes until just warm — this revives the crispiness without drying out the filling. Avoid microwaving if you want to keep the crust flaky.
Final Thoughts
This Strawberry Hand Pies with Roasted Filling Recipe has become one of those beloved treats in my kitchen that brings smiles every time I bake it. I hope you’ll enjoy discovering the little joys of roasting your own strawberries and crafting flaky pies as much as I do. Once you bite into that perfect pocket of jammy fruit and buttery crust, you’ll know it’s worth the effort. Go on—treat yourself and those you love—you’ll be so glad you did.