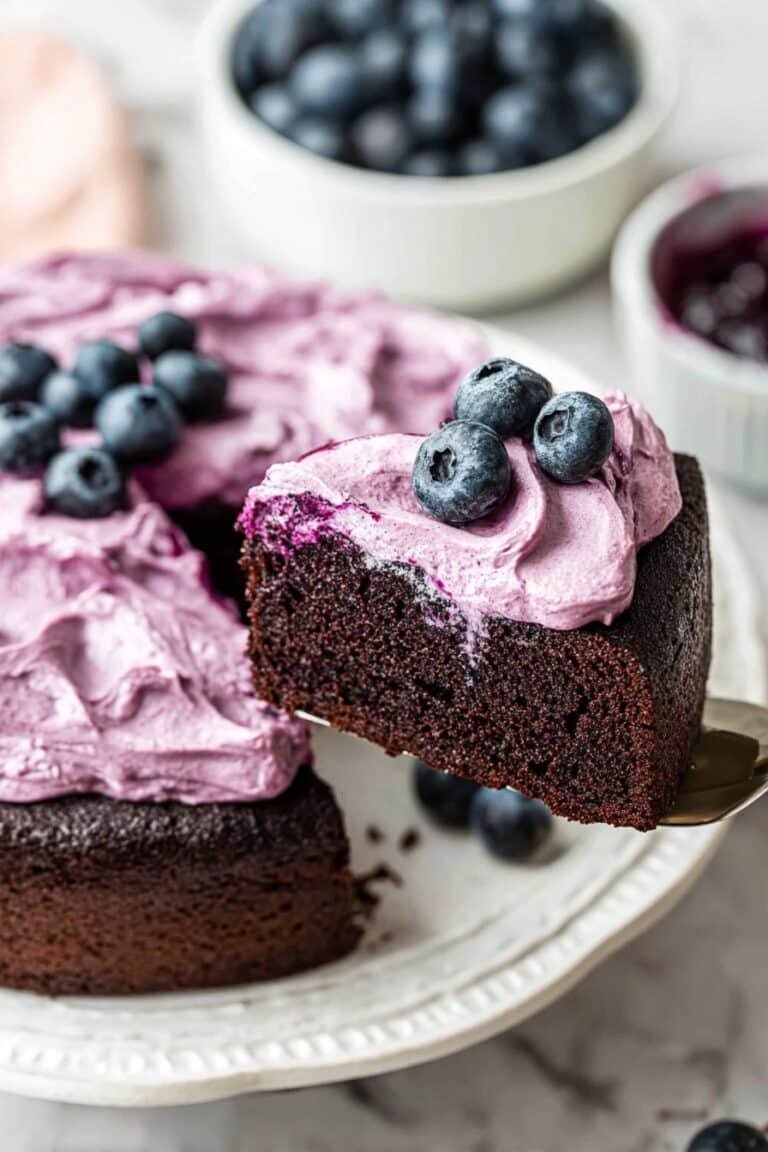
Imagine the rich aroma of melting chocolate blending with festive pink swirls and colorful sprinkles—this Valentine’s Day Chocolate Bark Recipe is exactly that joyful moment captured in a treat. It’s simple, beautiful, and absolutely fun to make, giving you a charming handmade gift or a show-stopping dessert to share.

Why You’ll Love This Recipe
- Easy to Customize: You can swap out candies and sprinkles to perfectly suit your Valentine’s Day vibe.
- No Fancy Equipment Required: Just a microwave, spatula, and some parchment paper—simple and straightforward.
- Deliciously Impressive: It looks stunning enough for gifting but is incredibly easy to pull together.
- Family Favorite: My whole family goes crazy for this, and it’s always the first to disappear at any party.
Ingredients You’ll Need
Each ingredient plays its part in creating that perfect blend of creamy chocolate, festive pink highlights, and playful crunch from candy toppings. I like to use good quality baking chocolates and fresh candy melts for the best results.

- Dark chocolate chips: Pick a high-quality dark chocolate to get a rich, smooth base.
- White chocolate baking bars: These melt more evenly than chips, making the layering smoother.
- Pink candy melts: Adds that lovely rosy pop perfect for Valentine’s Day and swirls easily.
- Valentine’s Day candy: Choose mini chocolates, candy hearts, or themed bits for fun texture and flavor.
- Valentine’s Day sprinkles: For that extra celebratory sparkle and visual interest.
Variations
I love tweaking this Valentine’s Day Chocolate Bark Recipe depending on the mood and occasion—you really can make it your own. From flavor swaps to dietary tweaks, there’s room for all sorts of creativity.
- Nutty Twist: My family enjoys adding chopped pistachios or toasted almonds to the topping for an extra crunch and flavor boost.
- Dairy-Free Option: Swap out the white chocolate bars for a dairy-free white chocolate alternative and ensure candy melts are vegan-friendly.
- More Colorful: Sometimes I add a few drops of natural food coloring into the white chocolate for even more vibrant swirls.
- Spiced Up: Adding a pinch of chili powder or cinnamon into the dark chocolate layer gives a surprising, warm kick.
How to Make Valentine’s Day Chocolate Bark Recipe

Step 1: Prepare Your Workspace and Dark Chocolate Base
Start by lining a half sheet pan with parchment paper—don’t forget to leave an overhang on the sides; this little trick makes lifting the bark out super easy later. Then melt your dark chocolate chips in the microwave, heating in short bursts of 15-20 seconds and stirring well after each. Patience is key here because chocolate can seize if overheated. Once silky smooth, pour and spread the chocolate evenly onto the parchment. Let it sit about 10 minutes until it’s mostly hardened but still slightly tacky to the touch. This timing is just right for layering the next stage smoothly.
Step 2: Melt the White Chocolate and Pink Candy Melts
While the dark chocolate firms up, break the white chocolate bars into a microwave-safe bowl and use the same slow heating method. Stir in between every increment until glossy and smooth. In a separate bowl, melt the pink candy melts with that same gentle, incremental heat approach. This slow melting is the trick I learned to keep everything creamy and easy to work with during the decorating step.
Step 3: Assemble Your Bark Layers
Pour the melted white chocolate evenly over the dark chocolate base and spread it quickly because it’ll set fast. Before it fully hardens, drizzle the pink candy melts on top in lines or small dollops. Take a toothpick and gently swirl through the white and pink layers to create that gorgeous marbled look. Try not to disturb the dark chocolate underneath, or you’ll lose that definition of the layers. Immediately sprinkle your Valentine’s candy and colorful sprinkles across the top while it’s still warm so they stick perfectly.
Step 4: Chill and Break Into Pieces
Let your bark cool fully on the counter for about 30 minutes until hardened. Then, using the parchment overhang, carefully lift it out and break or cut into pieces whatever size you prefer. The mix of smooth chocolate, pastel swirls, and crunchy toppings is always such a delight—my kids like it broken up small for snacking, while I enjoy bigger chunks.
Pro Tips for Making Valentine’s Day Chocolate Bark Recipe
- Slow and Steady Melting: Heating chocolate gently in intervals helps avoid clumping and ensures a perfectly smooth texture every time.
- Layer Timing Matters: Adding each layer when the previous one is just slightly set keeps them bonded but still beautifully marbled.
- Use an Overhang on Parchment: You’ll thank yourself when lifting the bark off the pan in one piece is so much easier.
- Avoid Overheating Candy Melts: They’re delicate and prone to seizing; heating in short bursts is your best bet.
How to Serve Valentine’s Day Chocolate Bark Recipe

Garnishes
I usually go all out with Valentine’s-themed sprinkles—think hearts, tiny pearls, and glittery sugar crystals. But sometimes, I add crushed freeze-dried raspberries or even edible gold dust for an unexpected elegant sparkle. These little extras make the bark feel even more special and festive.
Side Dishes
Pairing this chocolate bark with fresh berries or a light, creamy mousse really balances the richness. I often serve it alongside a glass of bubbly rosé or a hot cup of coffee, which brings out all those layered flavors and makes the experience feel extra indulgent.
Creative Ways to Present
For a special touch, I’ve wrapped individual bark pieces in clear cellophane tied with satin ribbon—perfect for gifting. Another idea is to arrange them on pretty plates layered with rose petals for Valentine’s parties. Presentation is half the fun and makes a big impression with minimal effort.
Make Ahead and Storage
Storing Leftovers
Once your bark is cooled, store it in an airtight container at room temperature where it will stay fresh for up to 5 days. I like using glass containers with tight lids to keep it from absorbing any other kitchen smells.
Freezing
If you want to keep it longer, freezing works beautifully. I wrap pieces individually in parchment or plastic wrap, then seal them in a freezer bag. They stay great for up to 4 months and thaw quickly when you’re ready to enjoy.
Reheating
Since it’s a cold treat, I don’t really reheat chocolate bark. If it softens too much, just let it sit a few minutes at room temperature to firm back up before serving. This keeps those delicious textures intact.
FAQs
-
Can I use milk chocolate instead of dark chocolate in this Valentine’s Day Chocolate Bark Recipe?
Absolutely! Milk chocolate will give a sweeter, creamier base, which pairs wonderfully with the white and pink layers. Just be sure to melt it gently to prevent scorching.
-
What if my chocolate seizes while melting?
Seized chocolate becomes grainy and thick. A quick fix is adding a tiny splash of vegetable oil or shortening and stirring vigorously. Preventing this is easier by heating in short increments and stirring constantly.
-
Can I make this ahead of time for a party?
Yes! This bark stores well for several days at room temperature or in the fridge, making it an excellent make-ahead treat for any Valentine’s gathering.
-
How do I get a neat marble swirl without mixing colors too much?
Work quickly before the white chocolate layer sets fully, and use a gentle swirling motion with a toothpick—try not to over-stir or push too hard into the base layer.
-
Is this Valentine’s Day Chocolate Bark Recipe kid-friendly to make?
Definitely! Kids love helping drizzle and swirl the candy melts and sprinkle toppings. Just supervise the microwave steps and handling of warm chocolate layers.
Final Thoughts
This Valentine’s Day Chocolate Bark Recipe holds a special place in my heart because it’s the perfect blend of easy prep, fun decorating, and that wow factor every time. I love gifting it and know you’ll enjoy both making and sharing it just as much. So grab your chocolates, ribbon, and some sprinkles, and get ready to impress your loved ones with this sweet, personal treat!
Print
Valentine’s Day Chocolate Bark Recipe
- Prep Time: 10 minutes
- Cook Time: 0 minutes
- Total Time: 55 minutes
- Yield: 6 servings 1x
- Category: Dessert
- Method: No-Cook
- Cuisine: American
- Diet: Vegetarian
Description
This Valentine’s Day Chocolate Bark is a festive and colorful treat featuring layers of dark chocolate, white chocolate, and pink candy melts, topped with Valentine’s Day themed candy and sprinkles. Easy to make and perfect for gift-giving or celebration, this bark combines smooth textures and sweet flavors in a beautiful marbled presentation.
Ingredients
Chocolate Base
- 1½ cups dark chocolate chips
- 12 ounces white chocolate baking bars (three 4-ounce bars)
- ¾ cup pink candy melts
Toppings
- ¼ cup Valentine’s Day candy
- 2 tablespoons Valentine’s Day sprinkles
Instructions
- Prepare Baking Pan: Line a half sheet baking pan with parchment paper, leaving some overhang on the edges for easy removal, and set aside.
- Melt Dark Chocolate: Place the dark chocolate chips in a microwave-safe bowl. Heat for 30 seconds, then stir well. Continue heating in 15-20 second increments, stirring thoroughly after each, until fully melted and smooth.
- Spread Dark Chocolate: Pour the melted dark chocolate onto the parchment-lined pan and spread into a thin, even layer using a spatula. Let it sit at room temperature for about 10 minutes until it is mostly set but not completely hardened.
- Melt White Chocolate: Break the white chocolate bars into pieces and place in a microwave-safe bowl. Heat for 30 seconds, stir, and continue heating in short bursts, stirring in between, until completely smooth.
- Melt Pink Candy Melts: Place the pink candy melts in a separate microwave-safe bowl. Heat for 30 seconds, stirring well, then continue in 15-20 second increments until fully melted and smooth.
- Layer White Chocolate: Pour the melted white chocolate over the dark chocolate layer and spread quickly before it hardens, as this layer sets rapidly.
- Drizzle Pink Candy Melts: Before the white chocolate sets, drizzle the melted pink candy melts over the white chocolate layer.
- Create Marble Pattern: Use a toothpick to gently swirl through the pink and white layers to create a marbled effect, avoiding dragging into the dark chocolate layer below.
- Add Toppings: While the chocolate is still warm, evenly sprinkle the Valentine’s Day candy and sprinkles over the top surface.
- Cool and Harden: Allow the bark to cool at room temperature for 30 minutes or until completely hardened.
- Break and Serve: Remove the bark from the pan using the parchment overhang and break into pieces. Serve and enjoy.
Notes
- Store the bark in an airtight container at room temperature for 4-5 days or refrigerate for up to 2 weeks.
- For longer storage, freeze the bark in a freezer-safe container for up to 4 months.
- Adjust serving size by breaking the bark into smaller or larger pieces as desired.
- Heating chocolate slowly and stirring frequently prevents seizing and ensures smooth layers.
- Allow layers to be mostly hardened but still slightly soft before adding the next layer to help them bond without blending.
- Leave overhang on parchment paper to lift the hardened bark easily from the pan with a defined shape.