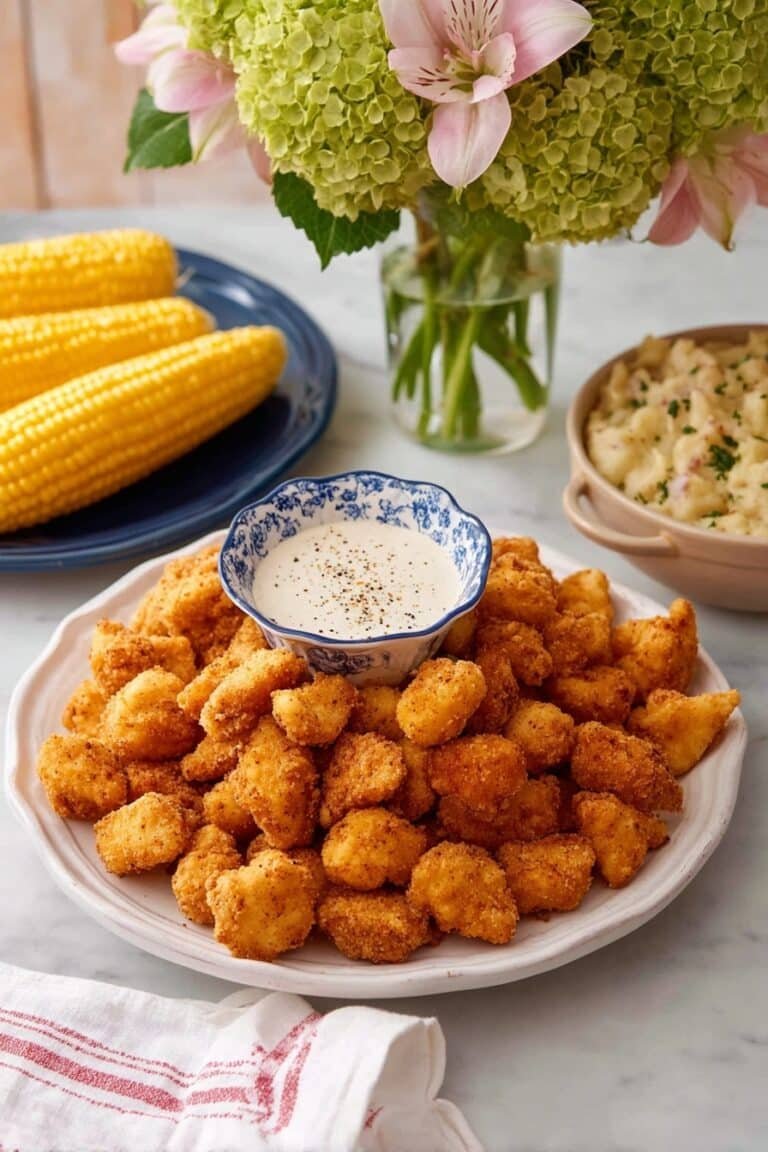

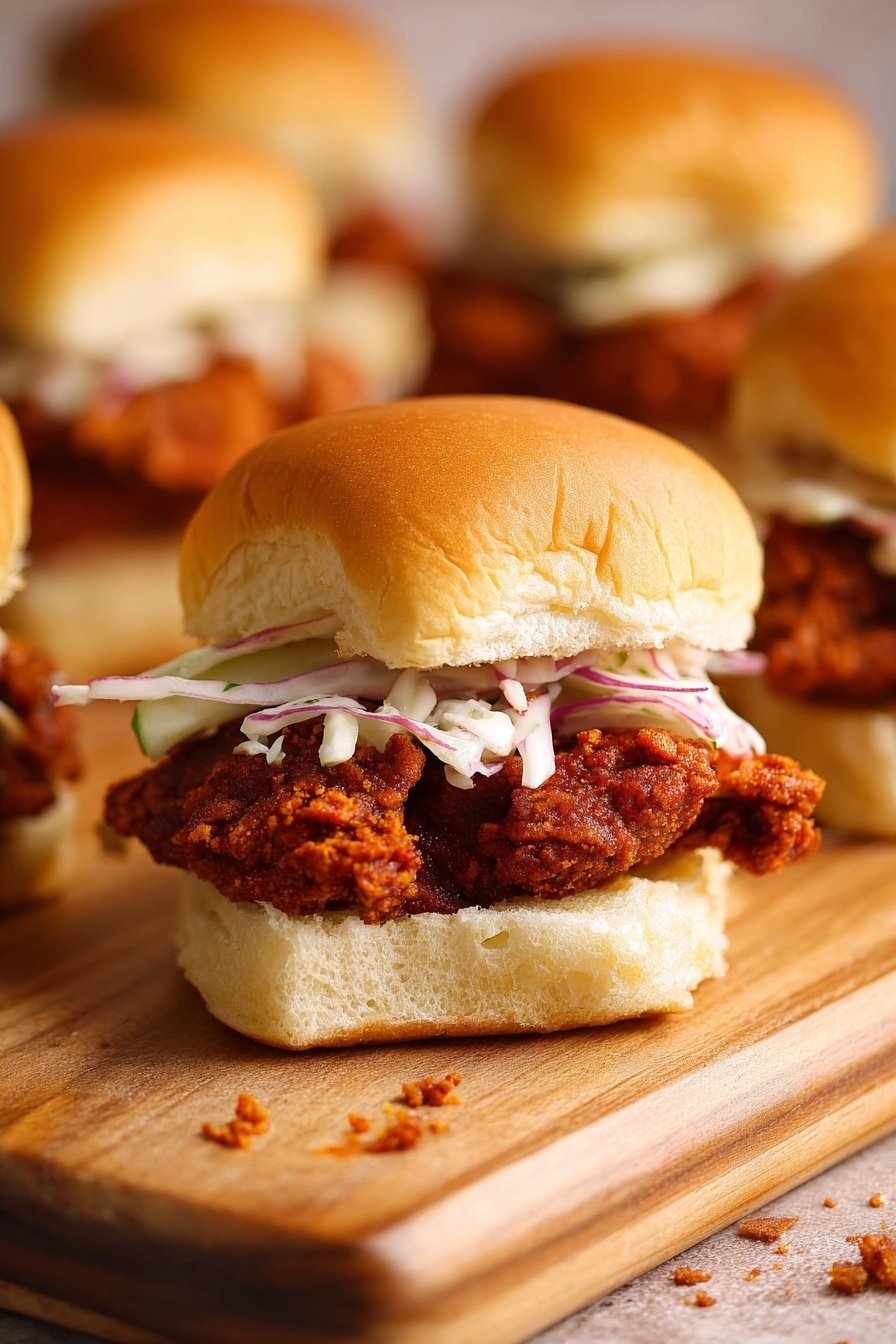
There’s just something irresistible about that spicy, crispy crunch paired with soft, pillowy slider buns. This Nashville Hot Chicken Sliders Recipe nails that perfect combo every time, bringing a little fiery Southern heat onto your plate that’s just downright addictive.
Why You’ll Love This Recipe
- Authentic Flavor: The spicy cayenne blend brings genuine Nashville heat that’s both fiery and flavorful.
- Perfect Crunch: Double-dredging and frying makes the chicken irresistibly crispy yet juicy inside.
- Easy Assembly: Slider buns with tangy pickles and creamy coleslaw balance the spicy punch beautifully.
- Make-Ahead Friendly: Marinate ahead or freeze the coated chicken, making dinner prep a breeze.
Ingredients You’ll Need
These ingredients come together to build layers of spicy, creamy, and tangy goodness. I love using simple pantry staples that combine for maximum flavor and authentic crunch.
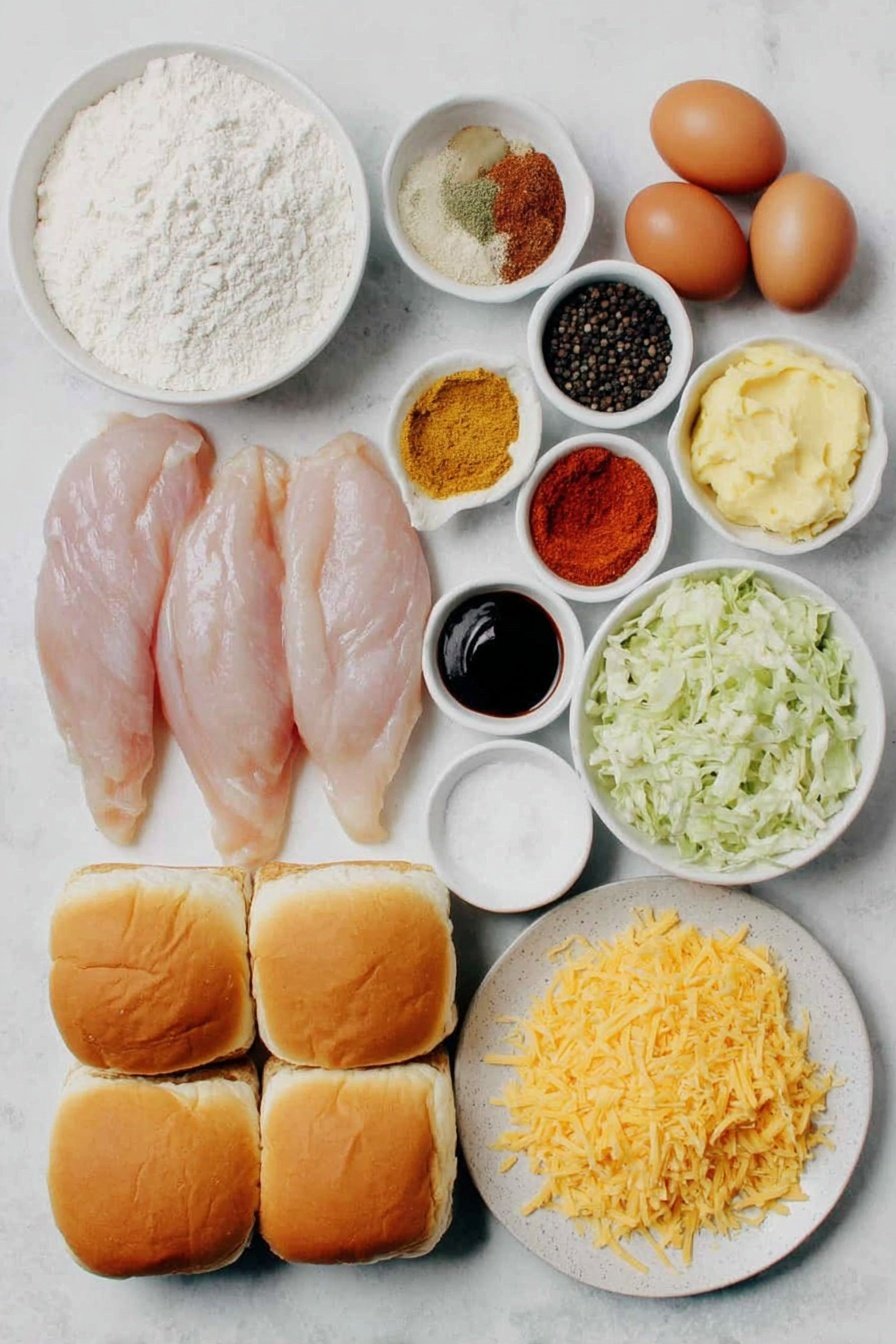
- Chicken tenders: Choose fresh tenders, trimming excess fat for the best bite-size sliders.
- Egg whites: Helps the marinade cling while keeping the coating light and crispy.
- Buttermilk: Creates tender, juicy chicken and adds tang; if you don’t have any, a quick homemade version with lemon juice works wonders.
- Flour: Use all-purpose flour for that classic southern crust texture.
- Cornstarch: Adds extra crispiness to the coating, a trick I swear by for amazing crunch.
- Baking powder: Helps the breading puff just a little, making it light and delicious.
- Vegetable oil: For frying, it has a high smoke point, perfect for getting that golden crust.
- Cayenne pepper: The heart of that Nashville heat — adjust to your spice tolerance.
- Paprika: Adds smoky depth and a beautiful color to the hot sauce.
- Brown sugar: Balances the heat with just a touch of sweetness.
- Coleslaw mix (cabbage): Adds crunch and coolness to contrast the spicy chicken.
- Mayonnaise: Used in both coleslaw and slider sauce, it brings creaminess that’s essential for balance.
- Ketchup: A bit of sweetness and tang in the slider sauce that ties it all together.
- Pickles: Thinly sliced, they add acidity and crunch — a must-have for Nashville-style sandwiches.
- Slider buns: Soft and small, ideal for that perfect handheld bite.
Variations
I love mixing things up depending on my mood and the occasion. Feel free to experiment with spice levels, toppings, or swap in alternative buns — these sliders play nicely with so many tweaks.
- Milder Heat: I’ve dialed down the cayenne pepper for family gatherings and it’s still packed with flavor but friendlier for kids.
- Gluten-Free Version: I swapped the flour for a gluten-free blend and cornstarch, which still gave a nice crunchy crust without losing texture.
- Vegan-Friendly: I’ve tried a plant-based “chicken” with the same marinade and spices — just adjust frying times and enjoy a spicy vegan twist!
- Spicy Coleslaw: Adding a dash of hot sauce to the slaw is my personal hack to keep the heat consistent throughout every bite.
How to Make Nashville Hot Chicken Sliders Recipe
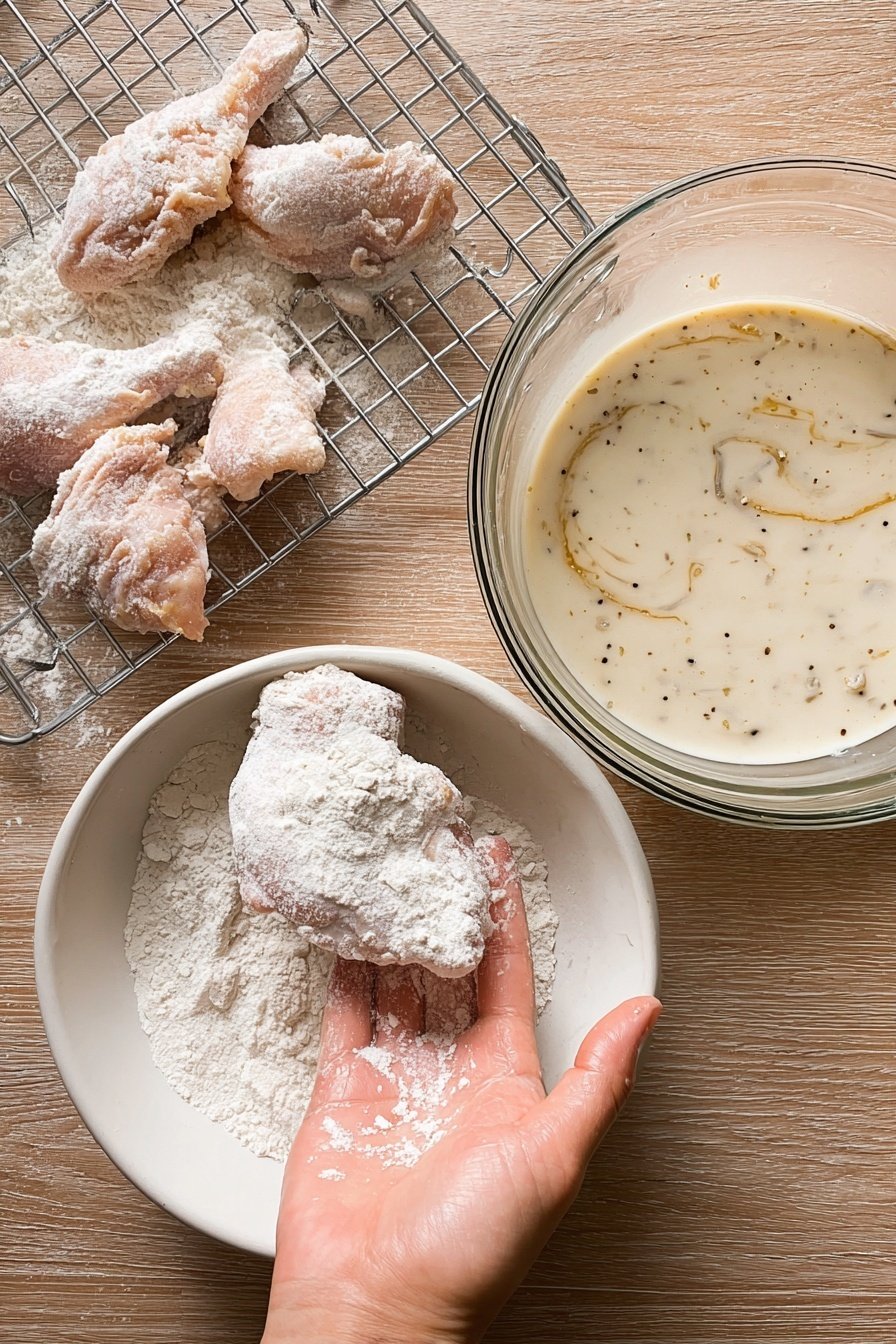
Step 1: Marinate for Juicy, Tender Chicken
Start by trimming the chicken tenders—removing any fat or tendons for clean, tender bites. If you’re making mini sliders, cut tenders in half, so they fit snugly inside the buns. Whisk together buttermilk, egg whites, salt, and pepper, then submerge the chicken in this mixture. It’s crucial to refrigerate for at least 2 hours, or even overnight if possible. This step is my secret for juicy chicken that stays tender even after double frying.
Step 2: Prep Your Coatings and Slaw While You Wait
While the chicken marinates, whip up your coleslaw by mixing shredded cabbage with mayo, sugar, vinegar, salt, and pepper. Also, combine mayo, ketchup, and seasonings for that creamy slider sauce. Thinly slicing pickles ahead saves time during assembly—trust me, multitasking here makes the final steps smooth and fun.
Step 3: Double-Dredge for Maximum Crunch
Mix flour, cornstarch, baking powder, salt, and pepper for the coating. Here’s a trick I discovered: remove each chicken piece from the marinade, shake off excess liquid, then dip in flour mixture thoroughly. Repeat that sequence twice — buttermilk dip then flour again — for a crust that holds firm and crisps up beautifully during frying. Let them rest 20 minutes on a wire rack before frying; it helps the coating set so it doesn’t fall off.
Step 4: Double Fry for Crispy Perfection
Heat oil to about 350°F and fry the chicken in batches for 5-6 minutes. This first fry cooks the chicken through but won’t fully brown it. Drain and rest on the wire rack. After 10-15 minutes, return chicken to the hot oil for a quick 2-3 minute second fry — this step seals in crunch without overcooking. Watching the color shift to a rich golden brown is always exciting!
Step 5: Make the Nashville Hot Sauce and Coat the Chicken
Combine cayenne, paprika, brown sugar, salt, pepper, and garlic powder in a bowl. When the chicken’s nearly done frying, carefully pour ½ cup of hot oil over the spices and whisk vigorously. The heat from the oil wakes up the spices, creating that memorable Nashville punch. Quickly dunk each fried chicken piece in this sauce to ensure every bite bursts with flavor—this quick dunking is a technique I’ve perfected to avoid sogginess.
Step 6: Assemble Your Sliders like a Pro
Warm your slider buns just before assembling — I like to toast them lightly on the stovetop for extra flavor. Slather the bottom bun with slider sauce, layer on pickles, then add the Nashville hot chicken, pile on coleslaw, and crown with the top bun. Serve immediately for the full crispy-and-spicy experience your taste buds will adore.
Pro Tips for Making Nashville Hot Chicken Sliders Recipe
- Marinate Overnight: I found letting the chicken soak overnight really amps up the tenderness and flavor.
- Use a Thermometer: Monitoring oil temperature keeps the coating crispy and chicken juicy without overcooking.
- Rest Before Frying: Resting the coated chicken allows the flour to adhere better, preventing the crust from flaking off in the oil.
- Sauce Dunk Timing: Dunk the chicken right after frying while still hot — I learned this prevents soggy coating and locks in spice.
How to Serve Nashville Hot Chicken Sliders Recipe
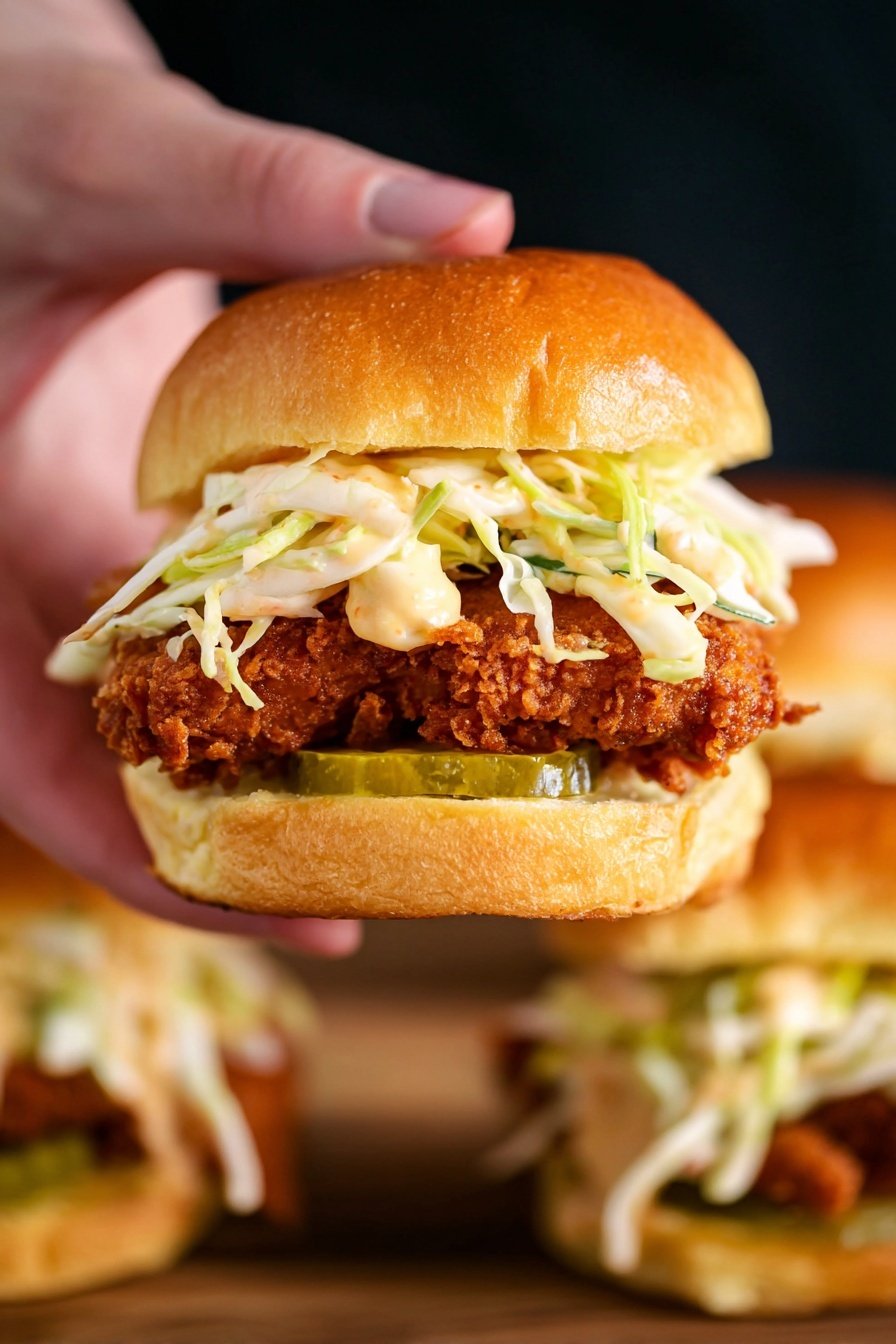
Garnishes
I always add extra thin pickle slices because their tang cuts through the heat perfectly. Sometimes, I sprinkle a few fresh chives or chopped green onions on top of the coleslaw for a fresh twist and added crunch — it’s a small detail that makes a big impact.
Side Dishes
My favorite sides with these sliders include baked sweet potato fries or classic dill pickle spears. A simple cucumber salad with light vinaigrette pairs well too, balancing the spicy richness with some cooling freshness.
Creative Ways to Present
I’ve set these sliders up on a rustic wooden board for game day parties, alongside ramekins of extra Nashville hot sauce and coleslaw. Serving them with colorful napkins makes the whole affair feel festive and inviting—great for impressing guests without fuss.
Make Ahead and Storage
Storing Leftovers
I store leftover cooked chicken in an airtight container in the fridge for up to 2 days. To keep that crispiness as much as possible, I separate the chicken from the buns and condiments and only assemble right before serving again.
Freezing
Freezing the chicken after it’s been coated (but before frying) has saved me on busy weeknights. Just freeze them spaced out on a tray, then transfer to a freezer bag. When you want them, fry straight from frozen — it cooks up almost as crispy as fresh!
Reheating
For reheating leftovers, the air fryer at around 300°F is my go-to—it crisps up the chicken without drying it out. Avoid microwaving if you want to keep the texture intact. Reheat the buns separately for the best slider experience.
FAQs
-
What cut of chicken is best for Nashville Hot Chicken Sliders Recipe?
Chicken tenders are ideal because they’re tender, easy to cut for sliders, and absorb the marinade well, making for juicy, flavorful bites. You can also use small chicken breast strips if tenders aren’t available.
-
Can I adjust the spice level of the hot sauce?
Absolutely! The recipe’s cayenne pepper amount can be reduced for milder heat or increased if you love a serious kick. Remember, the brown sugar balances the spice, so you can tweak that for sweetness too.
-
Is it necessary to double fry the chicken?
Double frying is key to achieving that signature crispy exterior while keeping the chicken juicy inside. The first fry cooks the chicken through, and the second fry crisps up the exterior quickly without overcooking the meat.
-
Can I make the coleslaw and sauce ahead of time?
Yes! Both the coleslaw and slider sauce keep well in the fridge for a day or two, making meal prep smoother. Just toss the slaw right before assembling sliders to keep it fresh and crunchy.
Final Thoughts
This Nashville Hot Chicken Sliders Recipe is one of those dishes that brings warmth—both in spice and in the smiles it creates around the table. I love how approachable it is to make at home, and I know you’ll enjoy the perfect balance of heat, crunch, and creaminess in every bite. Trust me, once you try these, they’ll become a favorite go-to for gatherings or cozy nights in. Happy cooking, friend!
Print
Nashville Hot Chicken Sliders Recipe
- Prep Time: 15 minutes plus 2 hours marinating
- Cook Time: 30 minutes
- Total Time: 2 hours 45 minutes
- Yield: 12 mini sliders 1x
- Category: Main Course
- Method: Frying
- Cuisine: Southern American
Description
These Nashville Hot Chicken Sliders deliver spicy, crispy, juicy fried chicken nestled in soft slider buns topped with tangy coleslaw, sliced pickles, and a flavorful, spicy sauce for the perfect party or casual meal.
Ingredients
Chicken Marinade / Dredge
- 6–8 chicken tenders
- 2 egg whites
- 1 cup buttermilk (240g, or make your own with 1 cup milk + 1 tbsp vinegar or lemon juice)
- 1 tsp salt
- 1 tsp pepper
Flour Coating / Breading
- 1 cup all purpose flour (130g)
- 2 tbsp cornstarch
- ½ tsp baking powder
- 1 tsp salt
- 1 tsp pepper
Deep Frying
- Vegetable oil (enough to fill skillet/wok approx. 2 inches deep)
Nashville Hot Sauce
- 2–3 tbsp cayenne pepper (adjust for spice preference)
- 1 tbsp paprika
- 1 ½ tbsp brown sugar
- 1 tsp salt
- ½ tsp pepper
- 1 tsp garlic powder
- ½ cup hot vegetable oil (taken from frying skillet)
Coleslaw
- 1 ½ cups shredded cabbage (mix of purple and green)
- ⅓ cup mayonnaise
- 2 tsp sugar
- 1 tsp vinegar
- ¼ tsp salt
- ¼ tsp pepper
Slider Sauce
- ¼ cup mayonnaise
- ¼ cup ketchup
- Pinch of salt
- Pinch of pepper
Assembly
- 12 mini slider buns or 6–8 full sized buns
- 2–4 pickles, thinly sliced
Instructions
- Marinate: Remove tendons and fat from chicken tenders. If using mini buns, cut each tender in half. Whisk buttermilk, egg whites, salt, and pepper together. Add chicken and coat thoroughly. Cover and refrigerate for at least 2 hours or overnight.
- Prep Other Components: Prepare coleslaw by mixing cabbage, mayo, sugar, vinegar, salt, and pepper. Mix slider sauce ingredients in a separate bowl. Thinly slice pickles.
- Coat Chicken: Mix flour, cornstarch, baking powder, salt, and pepper in a bowl. One piece at a time, remove chicken from marinade, shake off excess liquid, coat thoroughly in flour mix, dip back in marinade, shake off liquid, coat again in flour mix. Place coated pieces on a wire rack. Repeat for all pieces. Rest for 20 minutes.
- First Fry: Heat vegetable oil in a skillet or wok to 350°F. Fry one-third to half the chicken tenders for 5-6 minutes, flipping halfway through. Chicken should be cooked through but light in color. Drain on wire rack. Repeat for remaining pieces.
- Second Fry: After 10-15 minutes, reheat oil to 350°F. Fry chicken again for 2-3 minutes to achieve a deep golden brown and crispy exterior.
- Make Nashville Hot Sauce: Combine cayenne, paprika, brown sugar, salt, pepper, and garlic powder in a bowl. Carefully remove ½ cup hot oil from skillet and pour over spices. Whisk thoroughly to combine. Using tongs, dunk each cooked chicken piece into the hot sauce, coating evenly. Rest on wire rack over baking sheet.
- Assemble Sliders: Warm buns on stovetop or microwave. Spread slider sauce on bottom halves, add pickles, place Nashville hot chicken on top, then add coleslaw. Cover with top halves of buns.
- Serve: Serve immediately while hot for the best taste and texture.
Notes
- Best eaten fresh for maximum crispiness and flavor.
- You can halve the recipe or freeze coated chicken for later frying and serving.
- To reheat fried chicken, use an air fryer at 300°F until crispy again.
- Adjust cayenne pepper in the hot sauce to your preferred spice level.
- Use a wire rack while resting fried chicken to prevent sogginess.