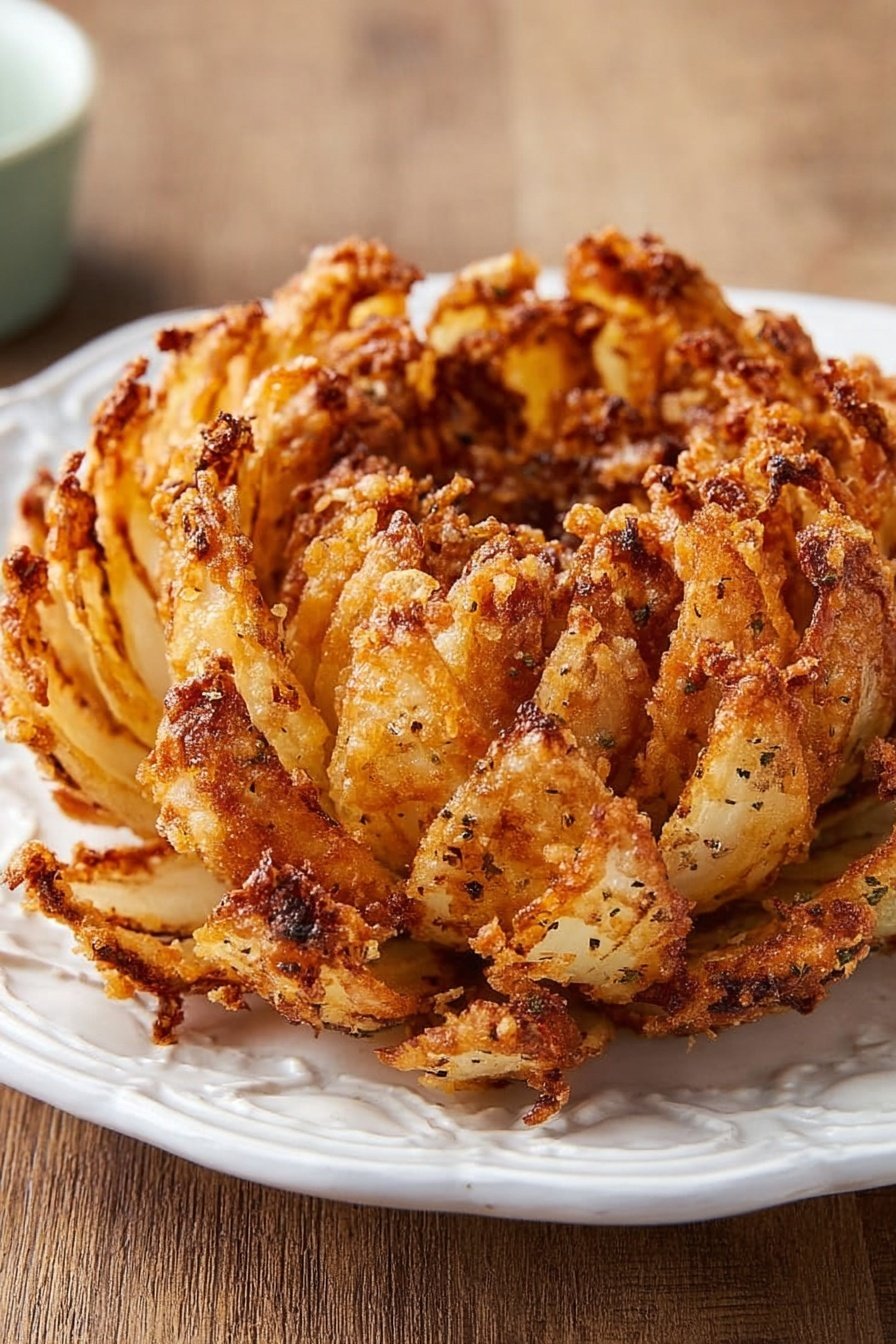
There’s something truly magical about a perfectly fried onion that blooms open like a flower, revealing crispy, flavorful petals waiting to be dipped. This Crispy Blooming Onion Recipe is not just delicious but also a showstopper that turns any gathering into a celebration of comfort food done right.
Why You’ll Love This Recipe
- Crisp and Flavorful: The double-dipped breading creates a crazy crispy crust packed with spice that keeps you reaching for more.
- Impressive Presentation: It’s not just a snack—it’s a blooming spectacle that wows guests every single time.
- Homemade Control: You know exactly what’s going into it — no mystery preservatives or strange ingredients.
- Perfectly Balanced Spices: A blend of paprika, cumin, cayenne, and oregano gives just the right kick and warmth without overwhelming the onion’s natural sweetness.
Ingredients You’ll Need
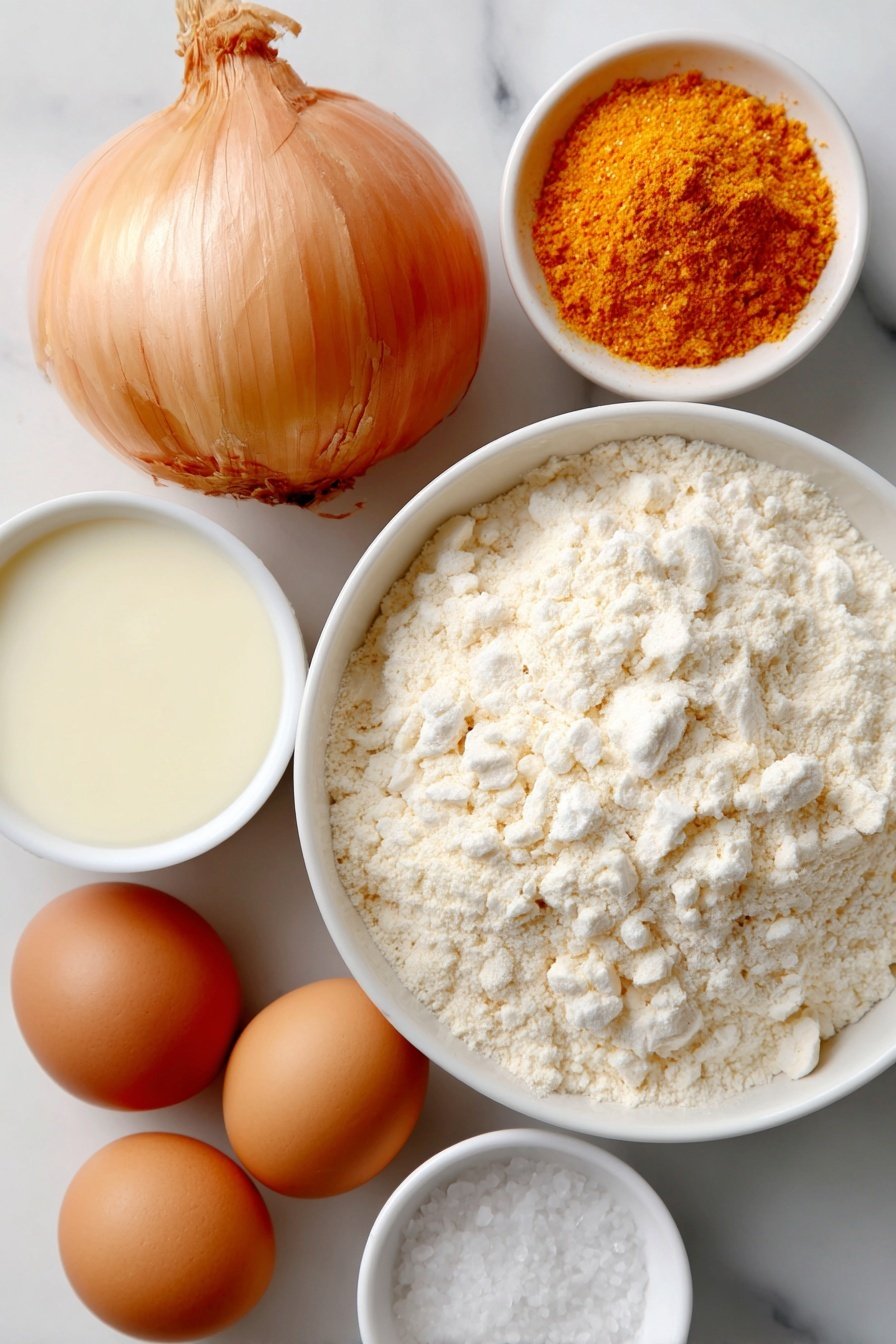
These ingredients work in harmony to build layers of flavor and texture, while the choice of a large sweet onion is key to achieving those tender yet crispy petals. When shopping, look for a fresh, firm onion without sprouts for the best results.
- High-heat oil: Canola, corn, or peanut oil are best because they can handle the frying temperature without smoking.
- Large sweet onion: Vidalia is my go-to for its natural sweetness and big size, perfect for blooming.
- All-purpose flour: Provides that essential base for the crispy coating.
- Paprika: Adds warmth and a mild smokiness.
- Kosher salt: Divided usage helps season both the batter and the finished product.
- Dried oregano: Lends an earthy, herbaceous note.
- Cayenne pepper: Brings just the right spicy kick.
- Ground cumin: Enhances the flavor depth with its subtle earthiness.
- Garlic powder: Gives classic savory flavor without any fuss.
- Freshly ground black pepper: For a sharp, aromatic edge.
- Large eggs: Helps bind everything and create that sticky coating.
- Buttermilk or milk: Adds tang and moisture to the egg wash for better adhesion.
- Dipping sauce (optional): Ranch or spicy aioli works wonders here.
Variations
While I love the classic Crispy Blooming Onion Recipe, it’s fun to tweak the seasoning or try different coatings based on what you and your guests prefer. Don’t be afraid to make it your own!
- Spicy Variation: I sometimes bump up cayenne pepper and add smoked paprika for a deeper, fiery flavor—my family goes crazy for that extra kick.
- Gluten-Free Option: Swap all-purpose flour for chickpea or rice flour and use gluten-free panko to keep the crunch.
- Air Fryer Version: For a lighter take, you can air fry the onion after breading, but make sure to spray it generously with oil to get that crispiness.
How to Make Crispy Blooming Onion Recipe
Step 1: Heat the Oil
Start by heating about 4 quarts of your high-heat oil in a large, heavy pot to 375ºF. It’s important to use plenty of oil so the onion can float freely and crisp evenly. Keep a close eye on the temperature with a reliable candy or deep-fry thermometer; maintaining that heat is key to crunchiness without sogginess.
Step 2: Prepare the Flour Mixture
Mix the flour with paprika, salt, oregano, cayenne, cumin, garlic powder, and black pepper in a large bowl. I like to whisk everything thoroughly so the spice blend is consistent—every bite should have an even pop of flavor. Set aside about 3/4 cup; you’ll need it later for dusting after the egg dip.
Step 3: Whisk Eggs and Milk
In another bowl, whisk together the eggs, buttermilk (or milk if you don’t have buttermilk), and the remaining pinch of salt. This rich wash helps the flour paste stick better, creating those irresistible crispy edges.
Step 4: Cut and Bloom the Onion
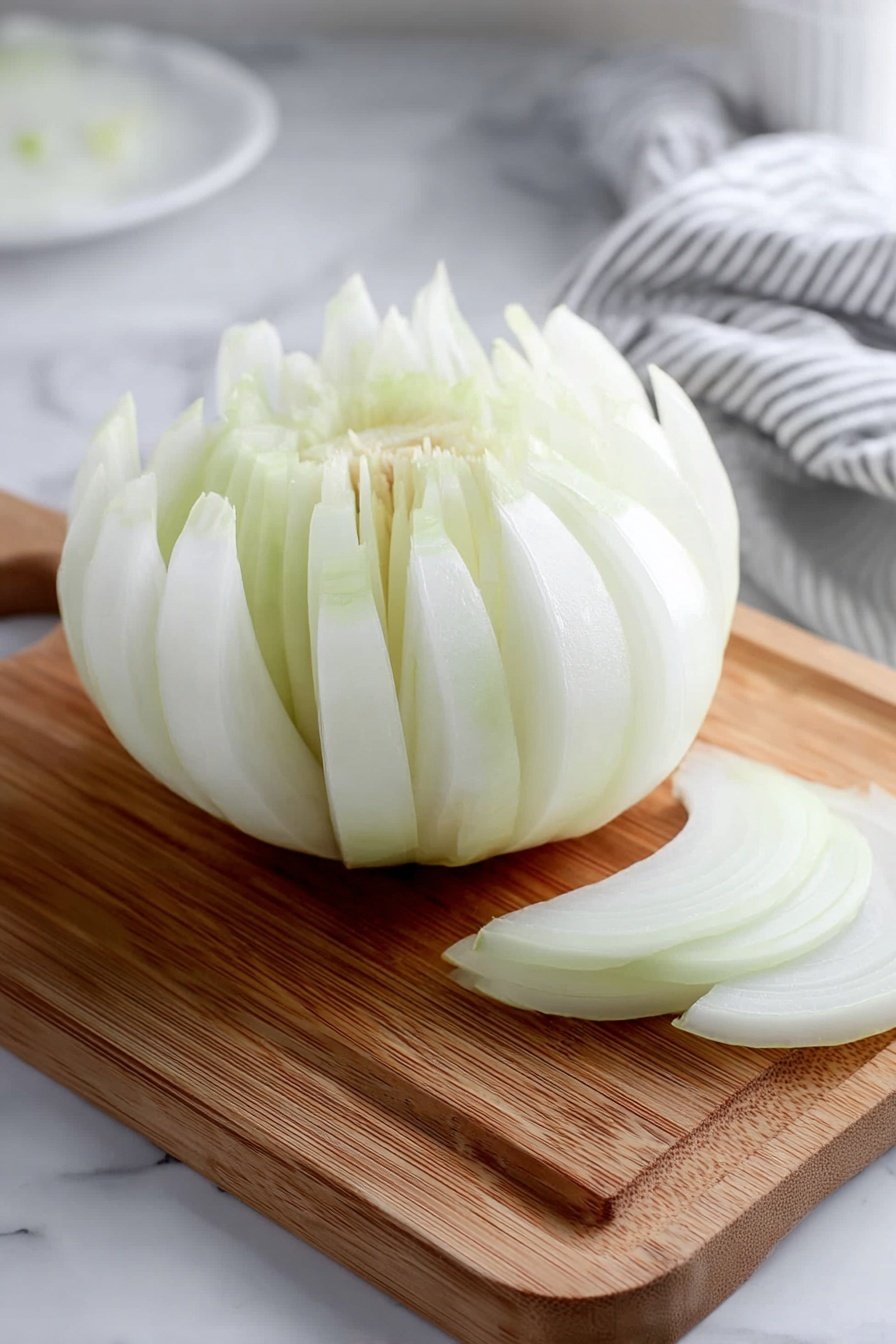
This is where the fun really begins! Trim the stem end but keep the root intact—this holds the onion together while you cut it into 16 petals. Using a sharp knife, slice down carefully without a sawing motion, turning the onion as you go. Once done, flip it upside down and gently pry open the layers like a blooming flower. Don’t rush—sometimes you need a delicate touch to separate those petals fully.
Step 5: Flour, Egg, Flour — Double Dipping
Dust the onion with the reserved flour mixture, getting in between those petals. Shake off excess, then dip the whole thing cut side down into the egg wash. Lift and spread the petals carefully to cover every nook and cranny in egg. Next, return it to the flour—this time sprinkling the reserved flour over each petal for a thick, crunchy coating. This double-dip method is what gives the onion that unbeatable texture.
Step 6: Fry to Golden Perfection
When the oil is ready, gently place the onion cut side up into the hot oil. Take your time lowering it in—it’ll bubble up, so stand back a bit! Fry for about 4 minutes until the bottom is deep golden, then carefully flip it to cook the other side for 3 to 4 more minutes. The petals should be crispy and the onion cooked through but still tender inside.
Step 7: Drain and Season
Use a spider or tongs to lift the onion from the oil, letting excess oil drip back into the pot. Place cut side up on paper towels over a wire rack to keep crispness. Sprinkle with the last pinch of kosher salt and let rest for about five minutes before serving—this helps settle the flavors and crispiness perfectly.
Pro Tips for Making Crispy Blooming Onion Recipe
- Sharp Knife is Essential: Using a very sharp blade helps avoid tearing the onion petals and ensures even cuts for a better bloom.
- Keep Oil Temperature Steady: I learned that fluctuating temps make the coating soggy, so adjust your burner to keep it tight between 360-365ºF.
- Double-Dipping is Game-Changing: The flour-egg-flour steps create the signature thick, crispy crust that holds up perfectly when fried.
- Don’t Skip the Rest Time: Letting the onion sit on paper towels for 5 minutes allows excess oil to drain and keeps those petals crunchy.
How to Serve Crispy Blooming Onion Recipe
Garnishes
I keep it simple with finishing touches like a sprinkle of flaky sea salt or even a touch of smoked paprika right before serving. When I want to add freshness, chopped fresh parsley or chives brighten the plate and balance the fried goodness perfectly.
Side Dishes
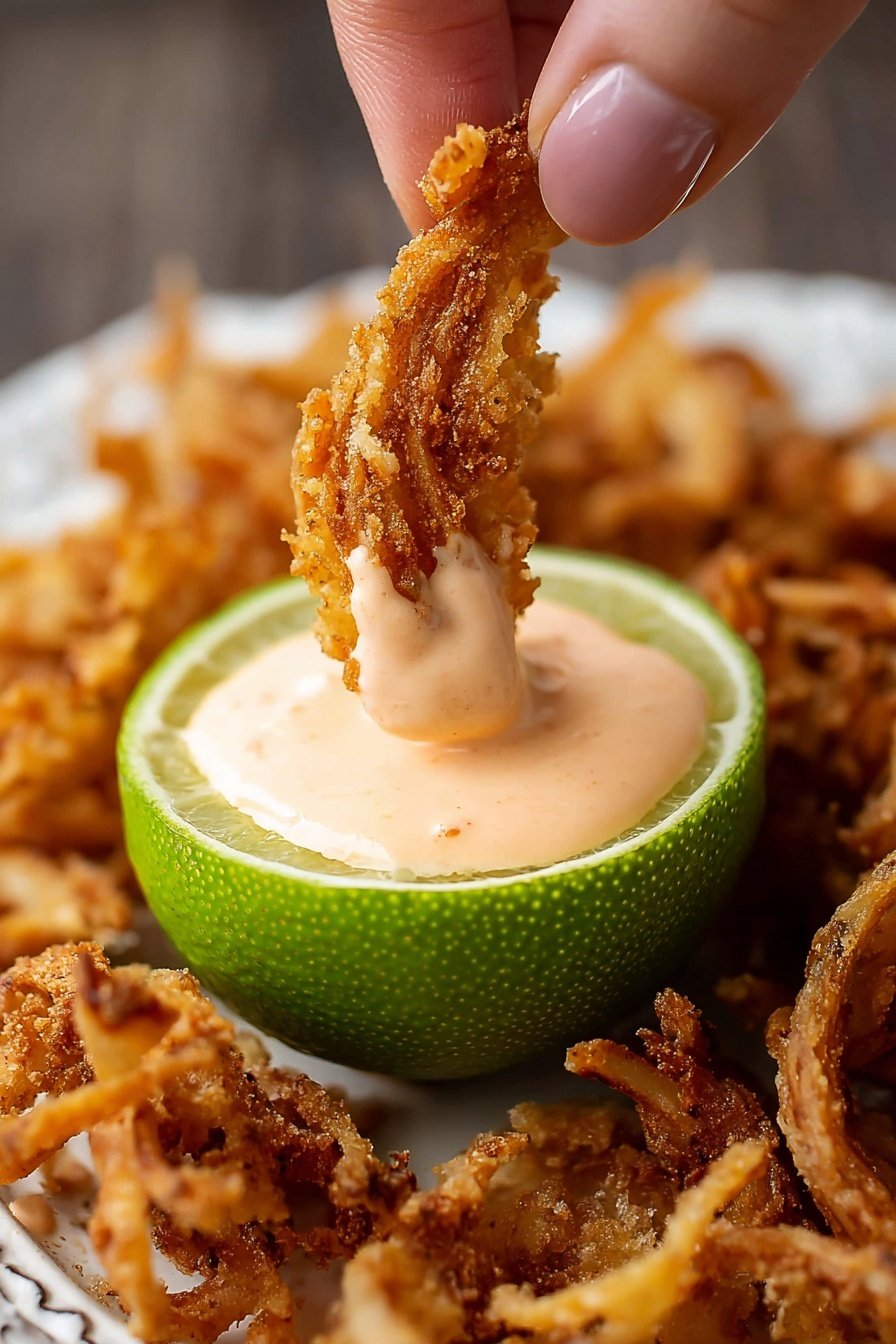
My family loves pairing this crispy beauty with classic sides like creamy coleslaw, a tangy Caesar salad, or even some crispy fries. It’s a perfect appetizer with plenty of dips—ranch, chipotle mayo, or even a tangy blue cheese dressing make fabulous companions.
Creative Ways to Present
For special occasions, I’ve arranged the blooming onion on a large wooden board surrounded by small ramekins of assorted dips—guests love sampling and it turns into a centerpiece! You could also hollow out the core and fill it with a spicy cheese dip for double the indulgence.
Make Ahead and Storage
Storing Leftovers
If you have leftovers (which is rare in my house!), wrap the cooled onion loosely with paper towels and refrigerate in an airtight container. The paper towels help absorb any moisture so the petals stay crisp longer.
Freezing
I don’t usually freeze blooming onions because the texture shifts and the crispiness fades after thawing. If you want to try, freeze unbattered onions and bread them fresh when ready—this keeps that signature crunch intact.
Reheating
Reheat leftovers in a hot oven or air fryer at 375ºF for a few minutes to revive the crispiness. Microwaving will make it soggy quickly, so avoid that when possible!
FAQs
-
Can I use any onion for the Crispy Blooming Onion Recipe?
While you can technically use any onion, large sweet onions like Vidalia are best because their size allows for more petals, and their natural sweetness balances the spicy coating beautifully.
-
How do I keep the onion petals from breaking when cutting?
The key is using a very sharp knife and cutting straight down without a sawing motion. Also, keeping the root intact helps the petals stay connected during cutting and frying.
-
What oil is best for frying the blooming onion?
Use a high smoke point oil like canola, corn, or peanut oil. These oils tolerate the high frying temperatures needed without burning or imparting unwanted flavors.
-
Can I make the crispy blooming onion ahead of time?
For best results, serve freshly fried. If necessary, you can prep the onion with the flour and egg coating, then fry right before serving to keep maximum crispiness.
-
What dipping sauces pair well with this recipe?
Classic ranch dressing, spicy aioli, or a tangy blue cheese dip complement the crispy, savory petals wonderfully. You can also whip up a simple mix of mayo, ketchup, and horseradish for a quick house sauce.
Final Thoughts
Honestly, this Crispy Blooming Onion Recipe has become a personal favorite for gathering around the kitchen and sharing something crunchy, fun, and downright delicious. I love how it brings a little excitement to any meal, and I know you’ll enjoy making and eating it just as much as I do. Give it a try next time you want to impress without fuss—your taste buds and guests will thank you!
Print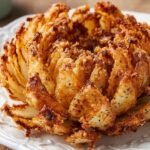
Crispy Blooming Onion Recipe
- Prep Time: 20 minutes
- Cook Time: 8 minutes
- Total Time: 28 minutes
- Yield: 4 servings 1x
- Category: Appetizer
- Method: Frying
- Cuisine: American
Description
This Blooming Onion recipe features a large sweet onion expertly cut and battered with a flavorful blend of spices before being deep-fried to a crispy golden brown. Served with an optional dipping sauce, it’s a perfect appetizer or snack for sharing that offers a delightful combination of crunchy texture and savory seasoning.
Ingredients
Frying Oil
- 4 quarts high-heat oil (canola, corn, or peanut) for deep-frying
Onion and Breading
- 1 large sweet onion (13 to 14 ounces), such as Vidalia
- 1 cup all-purpose flour
- 1 tablespoon paprika
- 3 teaspoons kosher salt, divided
- 1 teaspoon dried oregano
- 3/4 teaspoon cayenne pepper
- 3/4 teaspoon ground cumin
- 3/4 teaspoon garlic powder
- 1/2 teaspoon freshly ground black pepper
Egg Mixture
- 2 large eggs
- 1/2 cup buttermilk or whole or 2% milk
Optional
- Dipping sauce (optional)
Instructions
- Heat the oil: Heat 4 quarts of high-heat oil in a large stockpot over medium-high heat until it reaches 375ºF, ensuring ample space to prevent overflow.
- Prepare the flour mixture: In a large bowl, whisk together 1 cup flour, 1 tablespoon paprika, 2 1/2 teaspoons kosher salt, 3/4 teaspoon cayenne pepper, 1 teaspoon dried oregano, 3/4 teaspoon ground cumin, 3/4 teaspoon garlic powder, and 1/2 teaspoon black pepper. Set aside about 3/4 cup of this mixture, then keep the rest in the bowl.
- Make the egg wash: In a medium bowl, whisk 2 large eggs, 1/2 cup buttermilk or milk, and the remaining 1/4 teaspoon kosher salt until combined.
- Cut the onion: Trim 1/2 to 3/4 inch off the stem end of the onion and peel the outer skin. Place the onion root-side up on the cutting board. Make four cuts evenly spaced around the onion, 1/2 inch from the root, without sawing motions, then make four additional cuts between those to create 8 sections. Finally, make 8 more cuts between the existing ones to create 16 sections, keeping the root intact to hold the onion together.
- Open the onion: Flip the onion cut side down and gently spread the petals open like a flower. Use the tip of a knife to release any stuck pieces in the center for even cooking.
- Dust with flour: Place the onion cut side up into the flour mixture bowl. Sprinkle the reserved flour over the petals to ensure coverage in all crevices, then dust off any excess flour.
- Dip in egg mixture: Turn the onion cut side down into the egg wash, gently lifting and spreading the petals to fully coat them in the mixture.
- Double coat with flour: Transfer the egg-coated onion back into the flour mixture cut side up. Spread petals and sprinkle reserved flour mixture section by section, coating thoroughly on all sides.
- Prepare draining area: Line a baking sheet with a wire rack and place paper towels on top to drain excess oil after frying.
- Deep-fry the onion: Carefully lower the breaded onion cut side up into the hot oil using a spider or slotted spoon. Maintain oil temperature between 360 and 365ºF. Fry until deep golden brown on the bottom, about 4 minutes, then flip and fry for another 3 to 4 minutes until golden brown and tender.
- Drain and season: Remove the onion cut side down from the oil, letting excess oil drip back into the pot, then place cut side up on the paper towels. Sprinkle with the remaining 1/4 teaspoon kosher salt.
- Serve: Let the blooming onion cool for about 5 minutes before serving with your favorite dipping sauce if desired.
Notes
- Use a sharp chef’s knife to ensure clean cuts without tearing the onion petals.
- Maintain consistent oil temperature for even frying and crispy texture.
- Buttermilk can be substituted with whole or 2% milk if preferred.
- Be cautious when lowering the onion into hot oil to avoid splashing.
- Serve immediately for the best texture and flavor; reheating may soften the crispiness.