

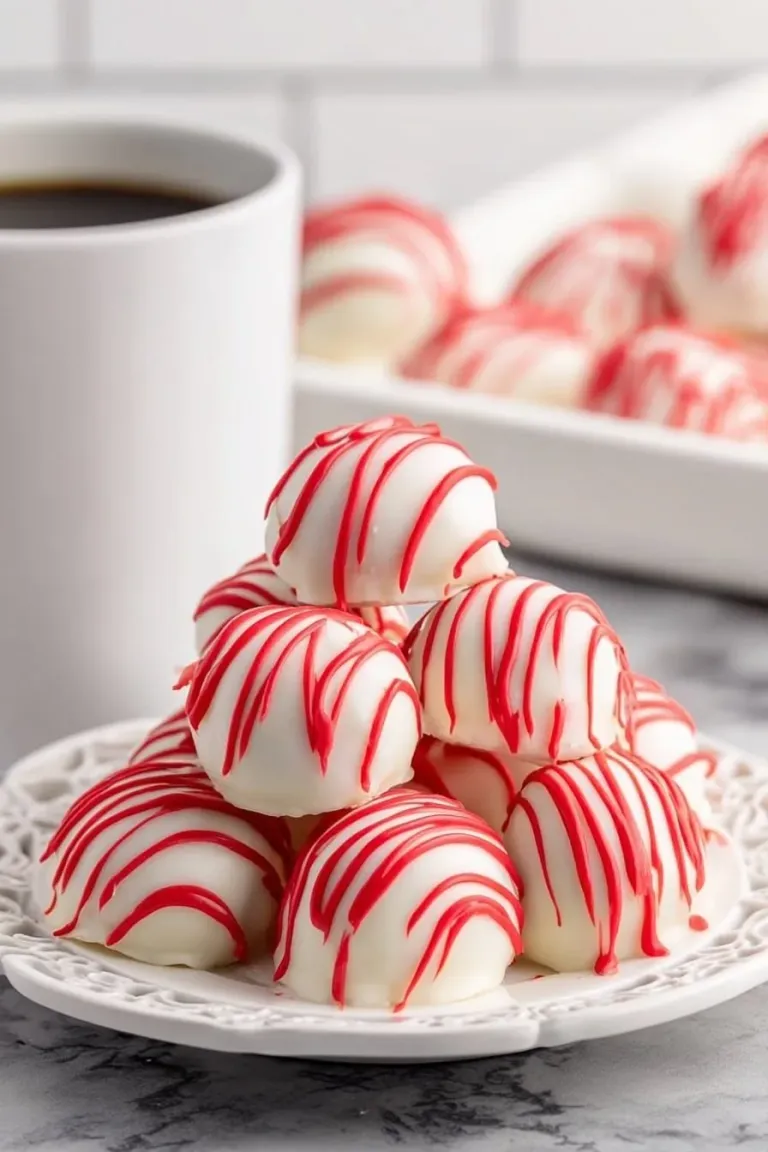
There’s something irresistible about the perfect fusion of flavors in these sweet little treats. The **Red Velvet Cheesecake Bites Recipe** combines the classic rich flavor of red velvet with silky smooth cheesecake, all in one bite-sized delight that you’ll keep coming back for. Trust me, they’re as fun to make as they are to eat!
Why You’ll Love This Recipe
- Easy to Make: No baking required—just mix, chill, and coat for a simple yet amazing treat.
- Perfectly Bite-Sized: These little cheesecake balls are great for parties, gifting, or just indulging without overdoing it.
- Beautiful Presentation: The smooth white almond bark coating and optional red drizzle make these bites as pretty as they are tasty.
- Customizable: You can play with different coating colors or flavors to match any occasion.
Ingredients You’ll Need
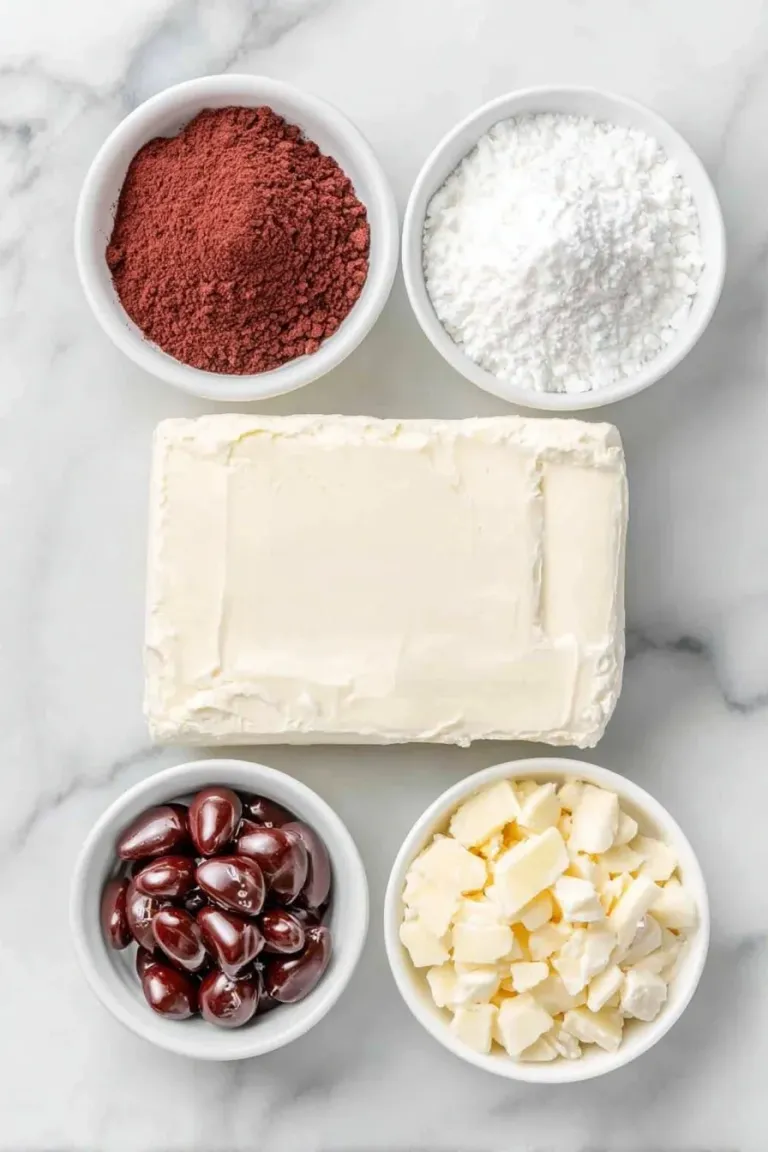
Choosing the right ingredients is key here. The combination of cream cheese with red velvet cake mix makes for a smooth yet flavorful filling, while white almond bark gives a glossy, crisp coating perfect for dipping and decorating.
 Save
- Red Velvet Cake Mix: Look for your favorite boxed brand; heating it briefly is an important trick to keep it safe and smooth.
- Cream Cheese: Make sure it’s softened to room temperature for the creamiest, lump-free texture.
- White Almond Bark: This melts easily and provides a firm coating that’s less likely to melt at room temperature.
- Red Candy Melts (optional): Great for adding that signature stripe garnish—adds color and a bit of fun flair.
Variations
I love mixing things up with this Red Velvet Cheesecake Bites Recipe to keep it interesting. You can easily switch up the drizzle color or even add a little extract to the cream cheese mix. Personalize it however you like!
- Chocolate Drizzle: I sometimes swap the red candy melts for dark or milk chocolate for a richer contrast that my family adores.
- Berry Flavor: Adding a bit of raspberry extract to the cream cheese gives a fresh fruity twist that’s bright and fun.
- Gluten-Free Cake Mix: You can make this treat gluten-free by choosing a suitable red velvet cake mix; just ensure your coatings are also free from gluten.
How to Make Red Velvet Cheesecake Bites Recipe
 Save
Step 1: Prepare and Heat Treat the Cake Mix
This little heat-treatment step is crucial for safety and texture. Pour the dry red velvet cake mix into a microwave-safe bowl, then microwave it in two 30-second bursts, stirring well each time. Let it cool completely before mixing it with cream cheese. This step prevents any risk from raw flour and also helps the mix blend smoothly once combined.
Step 2: Beat the Cream Cheese Until Smooth
Using a handheld mixer, beat your softened cream cheese for about 1½ to 2 minutes until it becomes silky and lump-free. This is my favorite part—it feels so satisfying watching the texture transform. Just make sure the cream cheese is truly at room temperature before you start; otherwise, you’ll end up with little cream cheese chunks, and nobody wants that.
Step 3: Combine Cake Mix and Cream Cheese
Sprinkle the cooled cake mix over the cream cheese and mix just until everything is combined. Avoid overmixing, as the dough needs to stay creamy but firm enough to roll into balls later. Once blended, cover the dough tightly and pop it into your fridge for two hours to chill. The chill helps the mixture firm up, making rolling a breeze.
Step 4: Scoop and Roll Your Cheesecake Bites
After chilling, line a baking sheet with parchment paper. Using a 1-tablespoon cookie scoop, portion out the cheesecake dough and roll gently between your palms to form smooth balls. Place each on your lined tray. This is a great spot to enlist help from family or friends—rolling together turns it into a fun little baking party!
Step 5: Melt and Coat with Almond Bark
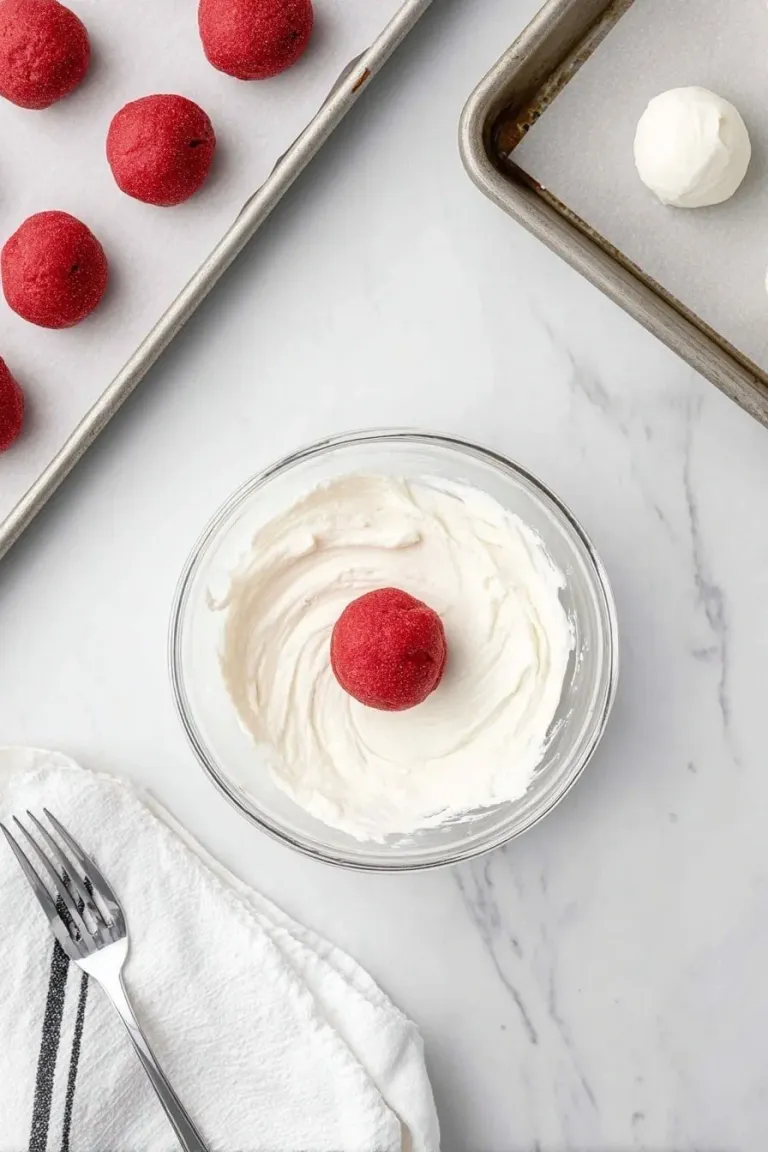
In a microwave-safe bowl, melt the white almond bark in 30-second bursts, stirring well between each to keep it smooth and prevent burning. Dip each cheesecake ball into the melted coating, then tap off excess chocolate with a fork. Use a toothpick to gently place the coated bite back onto the parchment. This step gives the bites that signature smooth, crisp shell that makes them extra special.
Step 6: Add the Red Candy Melt Drizzle
Finally, melt the red candy melts using the same microwave method. Use a fork, spoon, or even a squeeze bottle to drizzle the red over the coated bites in pretty stripes. This not only ups the visual wow factor but adds a little playful sweetness. Let the bites rest until the coating hardens—usually 15 to 20 minutes—then you’re ready to indulge.
Pro Tips for Making Red Velvet Cheesecake Bites Recipe
- Heat Treating the Cake Mix: I always heat treat the dry cake mix to avoid any chance of raw flour and for a smoother texture when mixed—it’s a game changer.
- Room Temperature Cream Cheese: Let it sit out at least 30 minutes before mixing to ensure no lumps sneak into your dough.
- Coating Temperature Match: To prevent cracking, let your cheesecake bites come close to room temp before dipping in warm almond bark.
- Drizzle Techniques: Use a fork for rustic lines or a squeeze bottle for precise stripes—the drizzle elevates the look and flavor easily.
How to Serve Red Velvet Cheesecake Bites Recipe
 Save
Garnishes
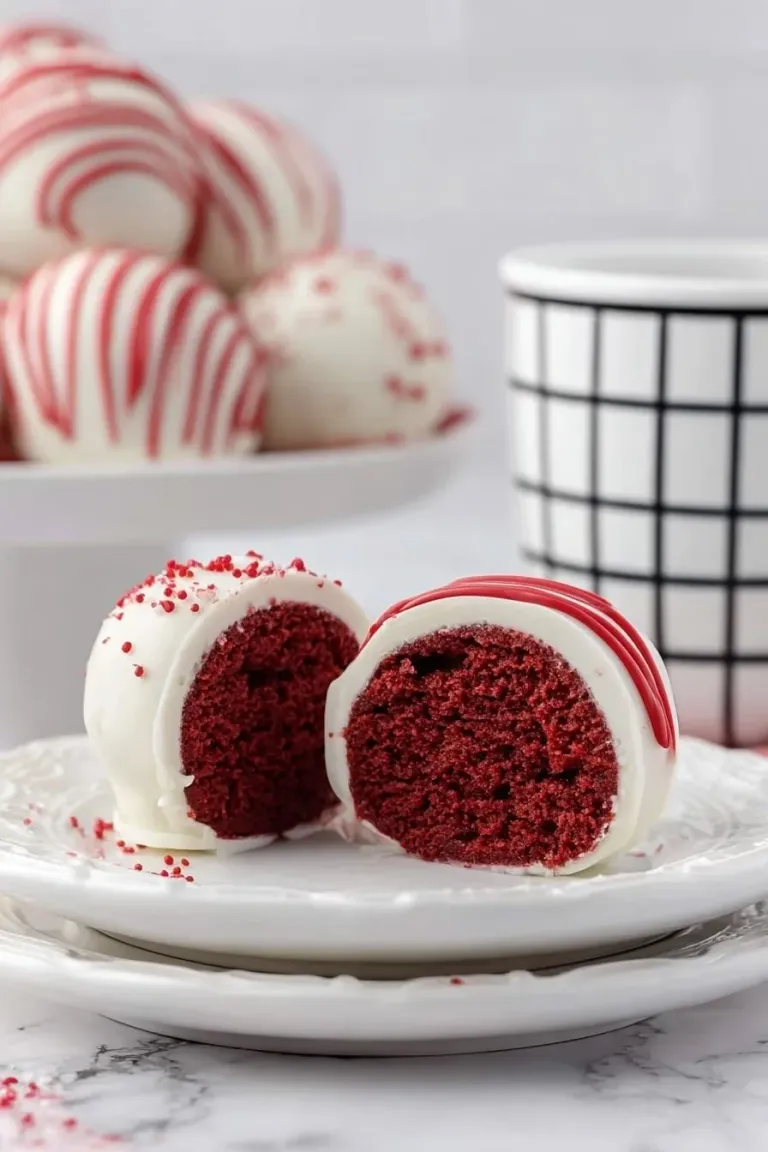
I usually keep the garnishes simple: a drizzle of red candy melts adds color and a little extra sweetness, but you could sprinkle crushed peppermint, white chocolate shavings, or even edible glitter for festive occasions—whatever makes you smile!
Side Dishes
Since these bites are rich, I like pairing them with fresh berries or a light whipped cream to balance the sweetness. Sometimes, a hot cup of coffee or a glass of cold milk is the perfect companion to really enjoy each bite.
Creative Ways to Present
For special occasions, I like setting them out in mini cupcake liners or arranging them on a tiered dessert tray. You can even gift them in clear boxes tied with ribbons—people always comment on how impressive they look and taste!
Make Ahead and Storage
Storing Leftovers
I store leftovers in an airtight container in the fridge, and they keep well for up to five days. Just make sure the container is sealed tight to avoid any moisture that might soften the coating prematurely.
Freezing
When I want to prep in advance, I freeze the uncoated cheesecake bites flat on a tray, then transfer them to a sealed bag. They freeze beautifully for up to two months and thaw overnight in the fridge before coating and serving.
Reheating
Since these are best served chilled, I usually skip reheating. But if you want them just a bit softer, bring them to room temperature for about 15 minutes before serving—this will help the flavors shine and the coating soften just slightly.
Final Thoughts
I absolutely love how this Red Velvet Cheesecake Bites Recipe turns out every single time—it’s become my go-to for holidays and celebrations because it’s both impressive and surprisingly simple. Once you make them, I know you’ll be hooked too, whether you’re sharing with friends or sneaking a few for yourself later. Give it a try and enjoy every decadently delicious bite!