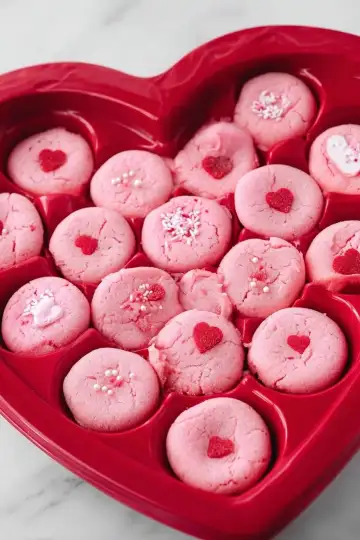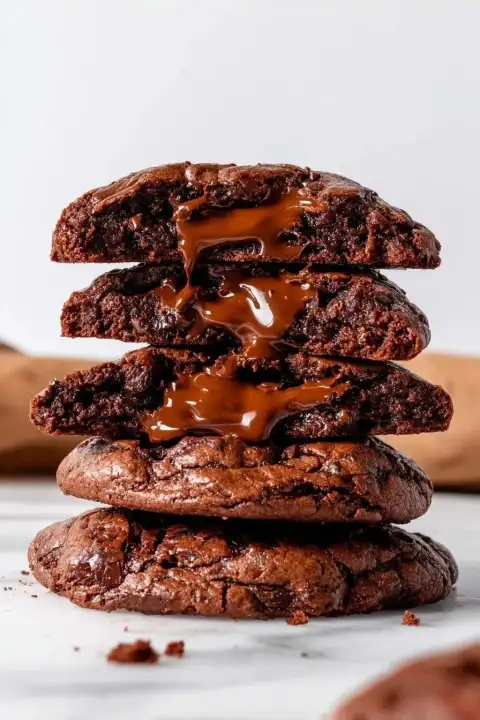


There’s something so charming about bite-sized treats that surprise you from the inside out—especially on a day all about love. This Valentine’s Day Cookie Cups with Hershey’s Hugs Recipe delivers a soft, buttery cookie shell cradling a melty, chocolatey center, making it an instant favorite in my kitchen every February.
Why You’ll Love This Recipe
- Simplicity Meets Deliciousness: The cookie dough is easy to work with and bakes into perfectly soft, chewy treats every time.
- Chocolate Surprise: Each cookie cup hides a Hershey’s Hug for the perfect melty center that’s pure indulgence.
- Customizable for Fun: Adding festive food coloring and sprinkles lets you personalize these cookie cups for any Valentine’s Day celebration.
- Great for Sharing: Bite-size and portable, they’re fantastic for gifting, parties, or a sweet treat to brighten someone’s day.
Ingredients You’ll Need
Each ingredient in this recipe plays a role in creating that tender cookie shell and irresistibly creamy center. Plus, they’re simple to find, so prepping won’t be a chore!
 Save
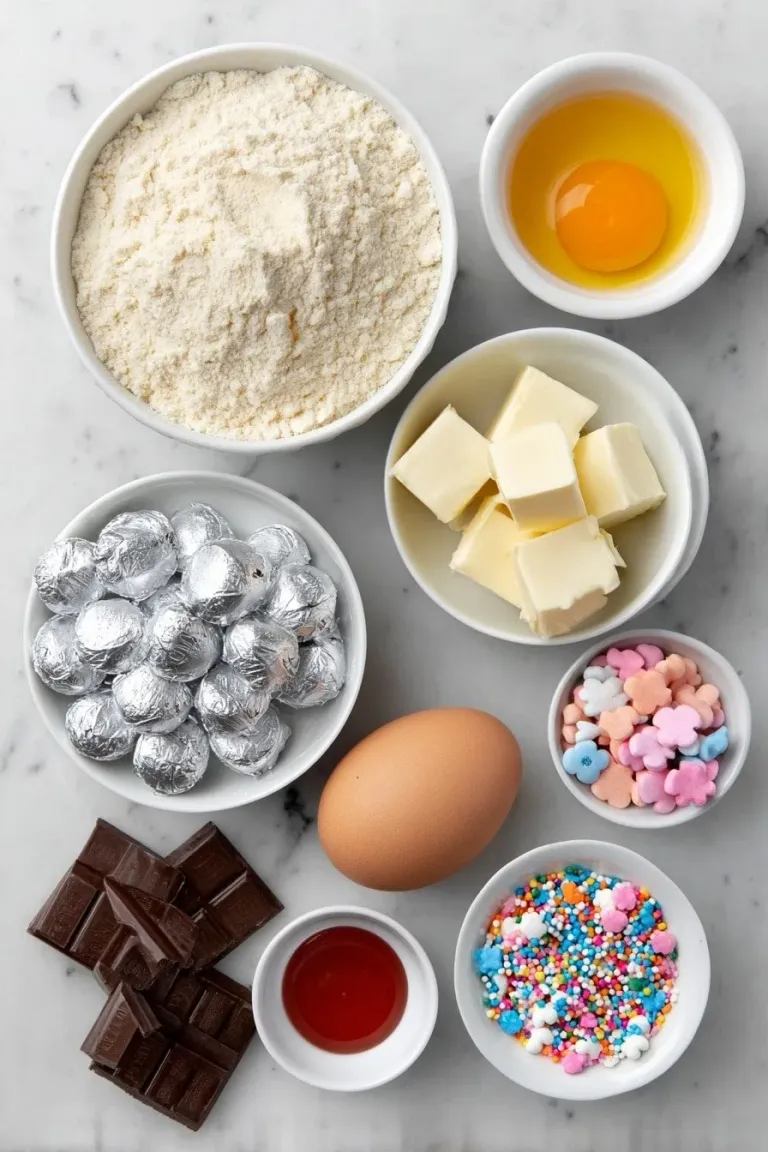
- Sugar cookie mix: I use a good-quality mix for consistent taste and texture, making life easier without sacrificing flavor.
- Salted butter: Melted for easy mixing and to add richness that enhances the cookie’s buttery flavor.
- All-purpose flour: This little extra flour helps the dough hold its shape around the chocolate hugs without getting tough.
- Large egg: Room temperature eggs blend seamlessly into the dough for perfect moisture and binding.
- Food coloring (pink/red): For that festive Valentine’s Day vibe—adjust it to get the shade you love most.
- Hershey’s Hugs: The star of the show! Unwrapped so they melt beautifully inside the cookie cups.
- Decorative sprinkles (optional): Fun to add some personality and charm to the tops—hearts, flowers, or any cute shapes you find.
Variations
One of my favorite things about this recipe is how easy it is to mix things up. I encourage you to get creative and tailor the cookie cups to your taste or occasion.
- Chocolate Chip Dough: Swap the sugar cookie mix for a chocolate chip version to add a little texture and extra chocolate flavor; my kids go wild for the double chocolate surprise.
- Nutty Twist: Add finely chopped nuts like pecans or walnuts into the dough for a crunchy contrast—just be sure to warn anyone with allergies.
- Diet-Friendly Option: Use a gluten-free cookie mix and dairy-free butter to make this treat friendly for your gluten-sensitive or vegan friends.
- Seasonal Themes: Change food coloring and sprinkles for other holidays—think orange and black for Halloween or pastel shades for Easter.
How to Make Valentine’s Day Cookie Cups with Hershey’s Hugs Recipe
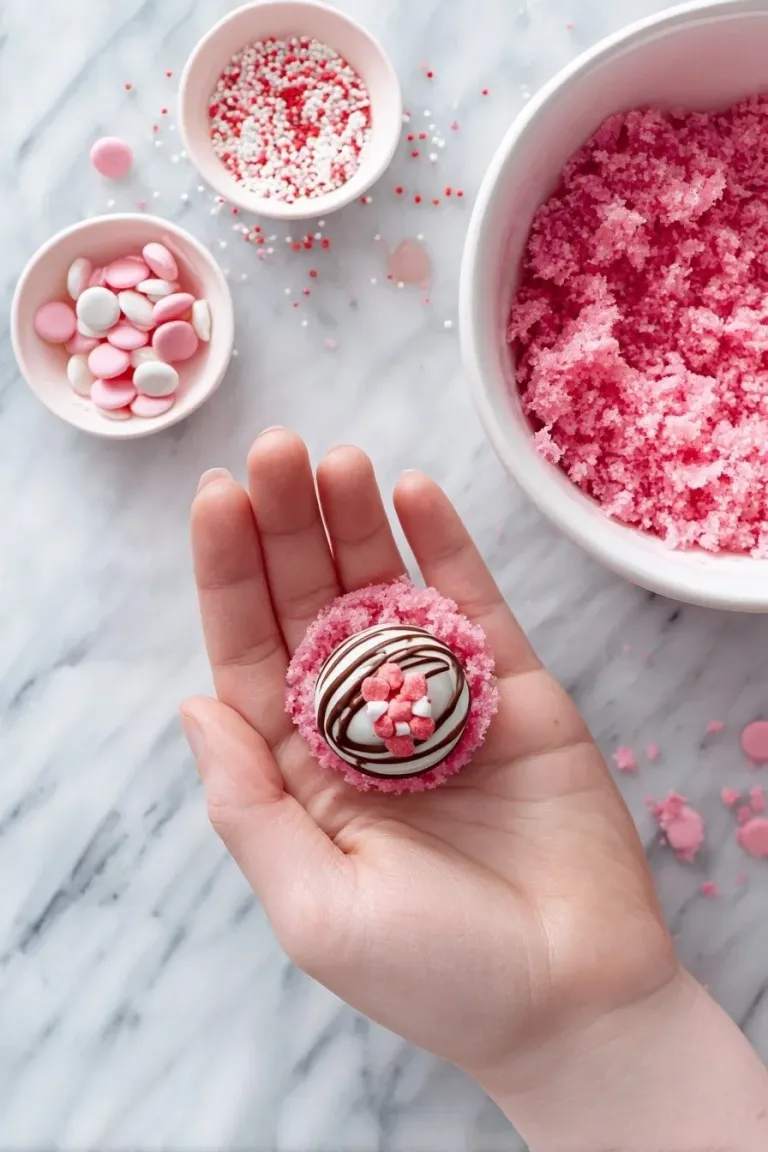 Save
Step 1: Prepare Your Tools and Oven
First, preheat your oven to 350°F (175°C) and spray a mini cupcake pan with cooking spray—this helps the cookie cups release easily later, which is crucial to keep their shape and avoid crumbly messes.
Step 2: Mix the Cookie Dough
In a large bowl, whisk together the sugar cookie mix, melted butter, flour, egg, and your chosen food coloring until everything just comes together. I like to mix gently to avoid overworking the dough, which can make cookies tough.
Step 3: Shape and Fill the Cookie Cups
Take about a tablespoon of dough and flatten it with your palm or a rolling pin so it’s roughly palm-sized. Place an unwrapped Hershey’s Hug in the center, then wrap the dough around it, rolling gently to form a ball. You’ll likely need to smooth out cracks with your fingers—that’s totally normal, and it helps seal the hug inside.
Step 4: Bake and Decorate
Set each dough ball upright into the mini muffin pan cavities. Bake for 10 to 12 minutes until the edges look set but the centers remain soft. Right out of the oven, press sprinkles gently on top if you want that extra festive touch. Then, let them cool for about 15 minutes before trying to remove them—the cooling time is key for easy handling to keep them intact.
Pro Tips for Making Valentine’s Day Cookie Cups with Hershey’s Hugs Recipe
- Seal Those Edges: Don’t worry if the dough cracks while wrapping around the hugs—just smooth and pinch gently with your fingers to avoid melting leakage.
- Use Room Temperature Egg: This helps the dough bind more evenly and gives you a smoother cookie texture.
- Don’t Rush Cooling: Removing the cookie cups too soon from the tins risks them falling apart—waiting 15 minutes is a game changer.
- Customize Your Colors: I learned that a little food coloring goes a long way—adjust by adding drops bit by bit until you get that perfect Valentine’s shade.
How to Serve Valentine’s Day Cookie Cups with Hershey’s Hugs Recipe
 Save
Garnishes
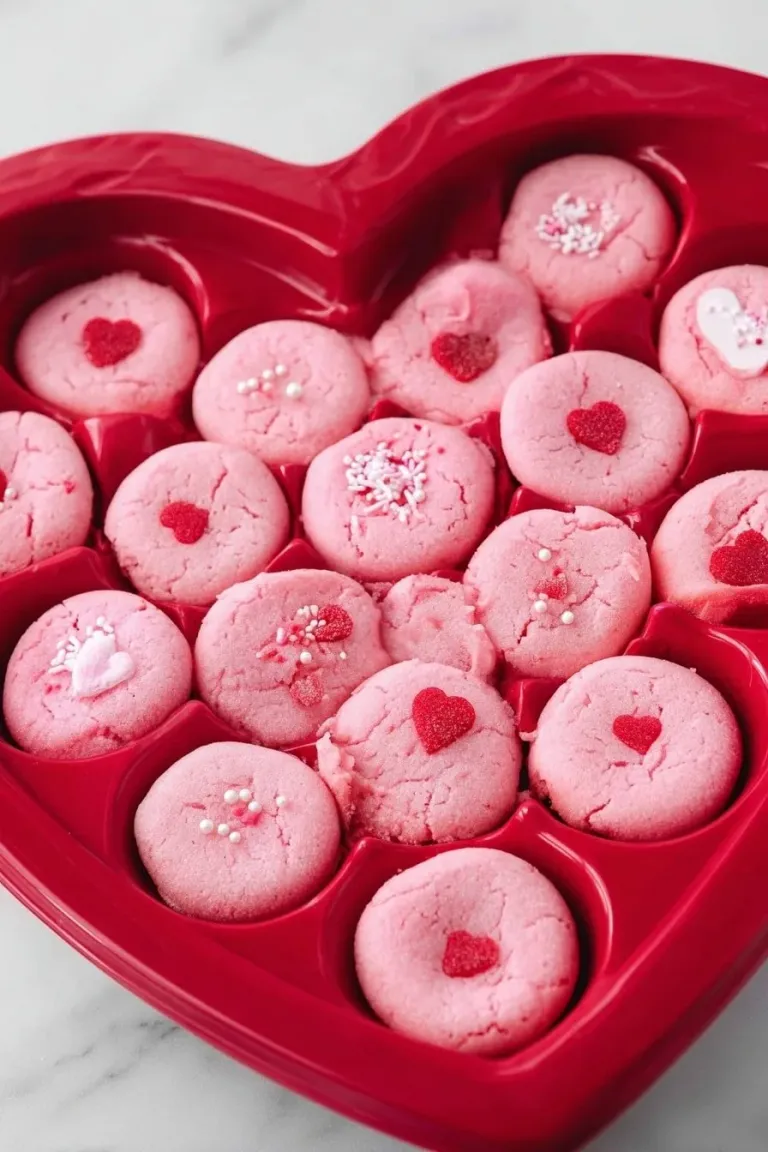
I love topping these cookie cups right after baking with festive sprinkles—hearts, tiny flower shapes, or red and pink nonpareils add such a lovely pop of color. Plus, pressing them into the warm dough helps them stick perfectly without sliding off.
Side Dishes
Serve these cookie cups with a simple glass of cold milk or a warm cup of coffee for adults. During Valentine’s Day brunch, they also pair beautifully with fresh berries or a light fruit salad to balance the sweetness.
Creative Ways to Present
For parties, I like arranging these cookie cups on tiered trays or in little paper liners with Valentine-themed patterns. Wrapping a few in cellophane with a cute ribbon makes an adorable homemade gift that always gets compliments!
Make Ahead and Storage
Storing Leftovers
I store leftover cookie cups in an airtight container at room temperature—the best part is that they stay soft and delicious for up to two weeks. Just make sure they’re completely cool before sealing to avoid any moisture buildup.
Freezing
Freezing these is a lifesaver if you want to prep early. I wrap each cookie cup individually in plastic wrap, then pop them into a freezer bag or container. They keep well for up to 5-6 months without losing their charm.
Reheating
To warm up frozen cookie cups, I let them thaw at room temperature, then pop them in the oven at 300°F for 5 minutes. This refreshes their softness and revives that melty hug in the center perfectly—avoid microwaving to keep texture intact.
Final Thoughts
I honestly can’t recommend this Valentine’s Day Cookie Cups with Hershey’s Hugs Recipe enough—it’s brought such warmth and joy to my family celebrations over the years. You’ll love how easy it is to make and the little moments of delight when you bite into that chocolate hug hidden inside. Trust me, whip up a batch and watch these become your go-to Valentine’s treat!