


There’s something utterly magical about the crunch of peppermint combined with the soft, buttery cookie base — that’s exactly what makes the Candy Cane Kiss Cookies Recipe an absolute holiday favorite in my kitchen. These treats capture that festive spirit perfectly, with each bite melting a little bit of winter wonder into your day.

Why You’ll Love This Recipe
- Perfect Peppermint Punch: The crushed candy canes and peppermint extract give a refreshing, festive kick you won’t forget.
- Soft Yet Crunchy: The cookie stays soft in the middle but has a lovely sugar-coated crunch around the edges.
- Easy to Make Ahead: Chilling the dough ensures you can prep in advance and bake on demand for fresh cookies anytime.
- Simple Ingredients: You probably already have most of what you need on hand, making it a no-fuss festive treat.
 Save
Ingredients You’ll Need
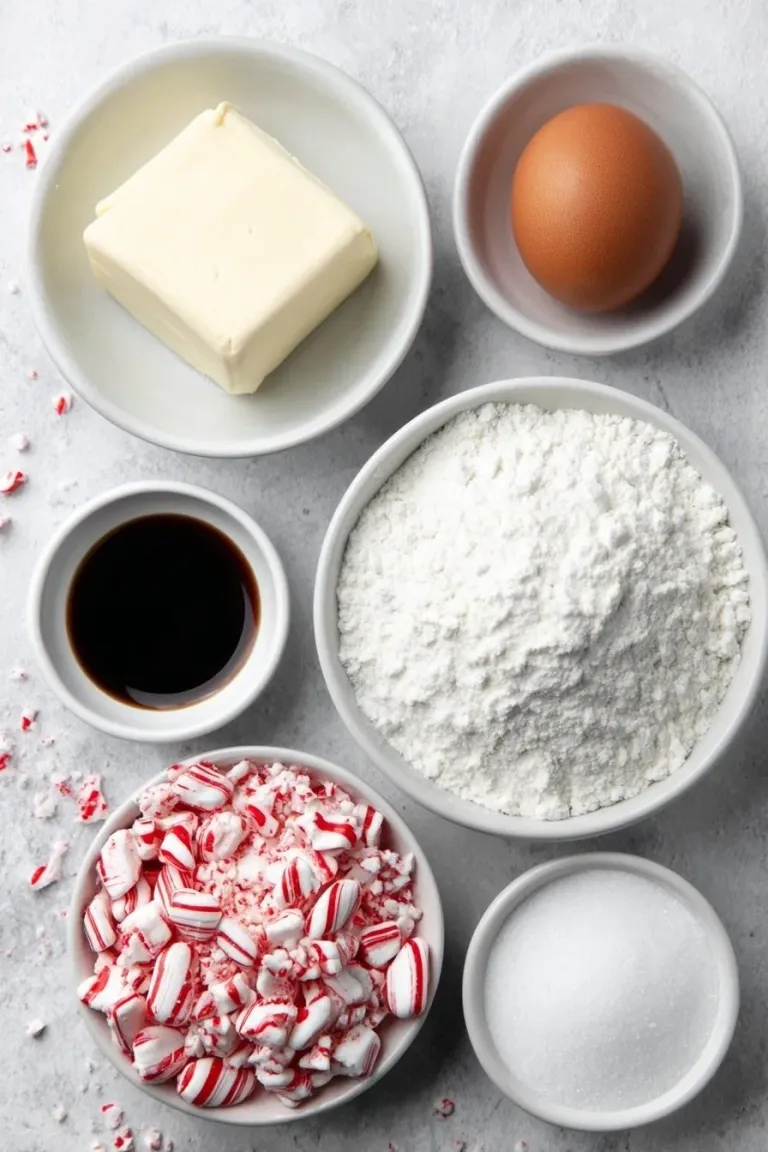
The ingredients in this Candy Cane Kiss Cookies Recipe come together beautifully to create that classic holiday flavor. A few tips will help you pick the freshest items for the best results.
 Save
- Unsalted butter: Using unsalted butter lets you control the saltiness, making the flavors pop perfectly.
- White sugar: Divided sugar helps in getting both sweetness and that wonderful sugar coating on the cookies.
- Large egg: Make sure it’s at room temperature to blend nicely with the other ingredients.
- Vanilla extract: Adds warmth and depth to balance the peppermint note.
- Peppermint extract: The star of this recipe — a little goes a long way, so I recommend using the pure stuff.
- All-purpose flour: This provides the sturdy yet tender base for the cookie dough.
- Baking soda: Helps the cookies rise just enough for a soft texture.
- Salt: Enhances all the other flavors without overpowering them.
- Milk: Just a touch to bring everything together smoothly.
- Crushed candy canes: Adds crunch and bursts of minty sweetness in every bite.
- Hershey’s Candy Cane Kisses: These festive chocolates are placed on top warm, melting slightly for the perfect finish.
Variations
I love how versatile this Candy Cane Kiss Cookies Recipe can be. You can tweak the flavors or the texture a bit to suit your holiday vibe or dietary needs — and it still turns out delicious!
- Chocolate Peppermint: For an extra chocolate punch, swirl in some cocoa powder with the flour — my family goes wild for this twist.
- Gluten-Free Version: Swap the all-purpose flour for a 1:1 gluten-free baking mix, and you get a crowd-pleasing cookie that everyone can enjoy!
- Less Sweet: Reduce the sugar coating by half if you prefer a gentler sweetness; the peppermint will still shine through.
- Nutty Upgrade: Add finely chopped nuts like pecans or almonds into the dough for added crunch and warmth — I discovered this trick during a holiday bake-off!
How to Make Candy Cane Kiss Cookies Recipe
Step 1: Cream the Butter and Sugar Until Fluffy
Start by softening your butter to room temperature — this makes all the difference for a smooth, fluffy creaming. Using a handheld mixer on medium-low, beat the butter and 1 cup sugar for about 1 to 2 minutes. You’ll see the mixture become light and airy; that’s your secret to tender cookies!
Step 2: Mix in the Egg and Extracts
Next, crack in the egg and add both vanilla and peppermint extracts. The peppermint really sets this recipe apart, so don’t skip it! Mix for another minute until everything looks smooth and combined — it smells heavenly this early, trust me.
Step 3: Combine Dry Ingredients Separately
While your wet ingredients are coming along, whisk together the flour, baking soda, and salt in a separate bowl. This helps everything distribute evenly and results in cookies that rise just right without any strange patches of baking soda.
Step 4: Blend Dry Ingredients, Milk, and Candy Canes Into Wet
Add your flour mixture, milk, and crushed candy canes to the wet ingredients. Using your mixer, beat just until combined — about 30 seconds or so. Overmixing can make the cookies dense, so go easy here.
Step 5: Form and Chill Your Cookie Dough Balls
Scoop one tablespoon-sized dough portions and roll each between your hands until smooth. Then, roll each ball in the remaining ¼ cup sugar — this extra step gives the cookies that twinkling, crunchy sparkle on the outside. Place them on parchment-lined baking sheets at least 2 inches apart, then refrigerate for 2 hours. Chilling is key to keeping their shape during baking and intensifying flavor.
Step 6: Bake and Add the Hershey’s Candy Cane Kisses
Preheat your oven to 375°F before baking. Pop the chilled dough balls in for 10 minutes or until the centers are set but still soft. After cooling the cookies for about 5 minutes, gently press an unwrapped Hershey’s Candy Cane Kiss right in the center. The warmth from the cookie slightly melts the chocolate, creating a delightful gooey minty center.
Pro Tips for Making Candy Cane Kiss Cookies Recipe
- Chill the Dough Well: I used to skip chilling—but once I tried it, the cookies held their shape beautifully and baked evenly every time.
- Crush Candy Canes Finely: Larger chunks can sink to the bottom or break teeth—grind them just enough to add crunch without overwhelm.
- Don’t Overbake: The cookies will still look soft in the center when done; overbaking gave me dry cookies before, so I learned to watch closely.
- Press Kisses Immediately: Adding the chocolate while the cookie is still warm helps it stick and melt just right without losing shape.
How to Serve Candy Cane Kiss Cookies Recipe
 Save
Garnishes
I often sprinkle a little extra crushed candy cane on top right after pressing the Kiss down—it gives a pretty, festive sparkle and amps up the mintiness. Dusting lightly with powdered sugar before serving also adds a snowy finish that guests love.
Side Dishes
These cookies pair perfectly with a warm cup of hot chocolate or peppermint mocha for dipping. I also like serving them alongside a simple cheese board with mild cheeses, nuts, and dried fruit for a holiday party spread.
Creative Ways to Present
During holiday parties, I love stacking these cookies in a tall glass jar tied with a red ribbon—it looks festive and irresistible. Another fun idea is to place them inside little cellophane bags with candy cane ties for homemade gifts that always impress.
Make Ahead and Storage
Storing Leftovers
I keep leftover Candy Cane Kiss Cookies in an airtight container at room temperature, where they stay fresh for about 5 to 7 days. Just make sure to keep them away from heat or moisture, or else the candy canes might get sticky.
Freezing
Feel free to freeze the dough balls before baking—they freeze beautifully and you can bake fresh cookies whenever holiday cravings hit. Just thaw them in the fridge overnight, then bake as usual. You can also freeze baked cookies, wrapped tightly, for up to a month.
Reheating
To bring back that just-baked warmth, pop the cookies in a 300°F oven for 5 minutes or microwave for 10-15 seconds. Just be careful not to overheat or the chocolate will get too melty and the cookies might dry out.
Final Thoughts
I absolutely love how this Candy Cane Kiss Cookies Recipe brings the holidays straight to your kitchen with each festive bite. It’s one of those recipes that become a family tradition — something you bake together, share with neighbors, or just sneak a few for yourself. The balance of soft cookie and minty chocolate kiss is simply irresistible. Trust me, once you make these, you’ll be reaching for this recipe every season.